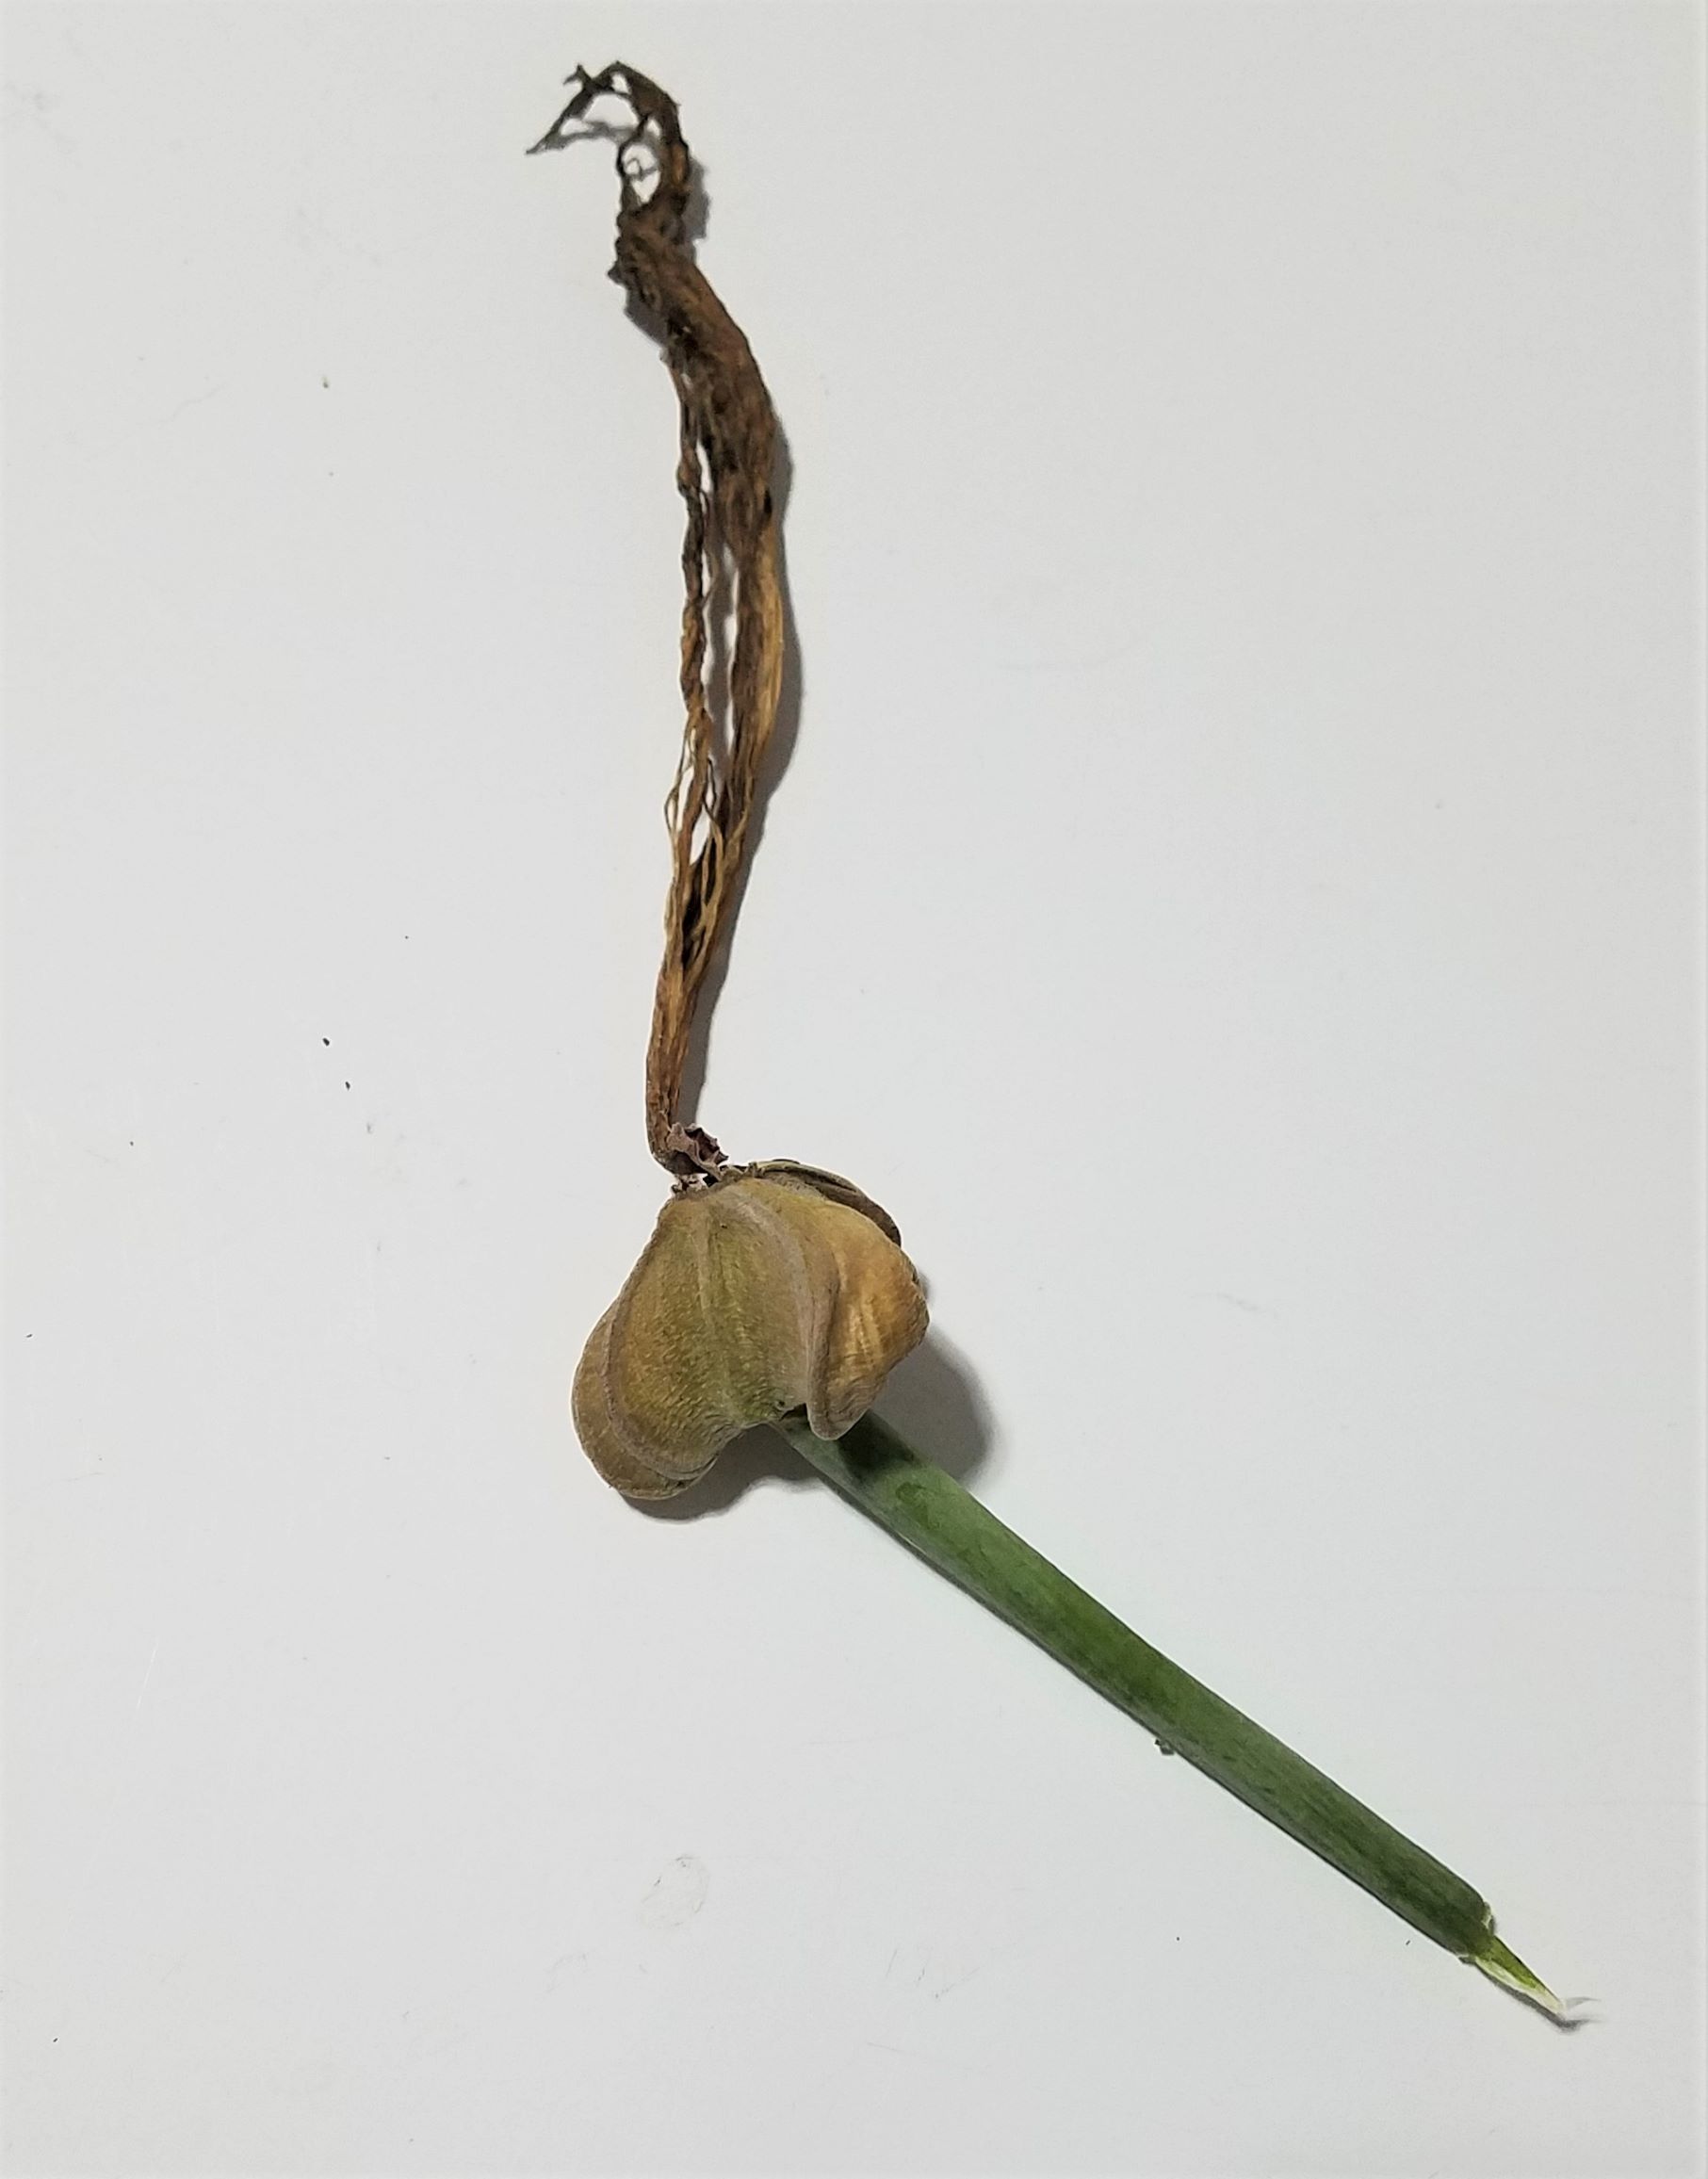
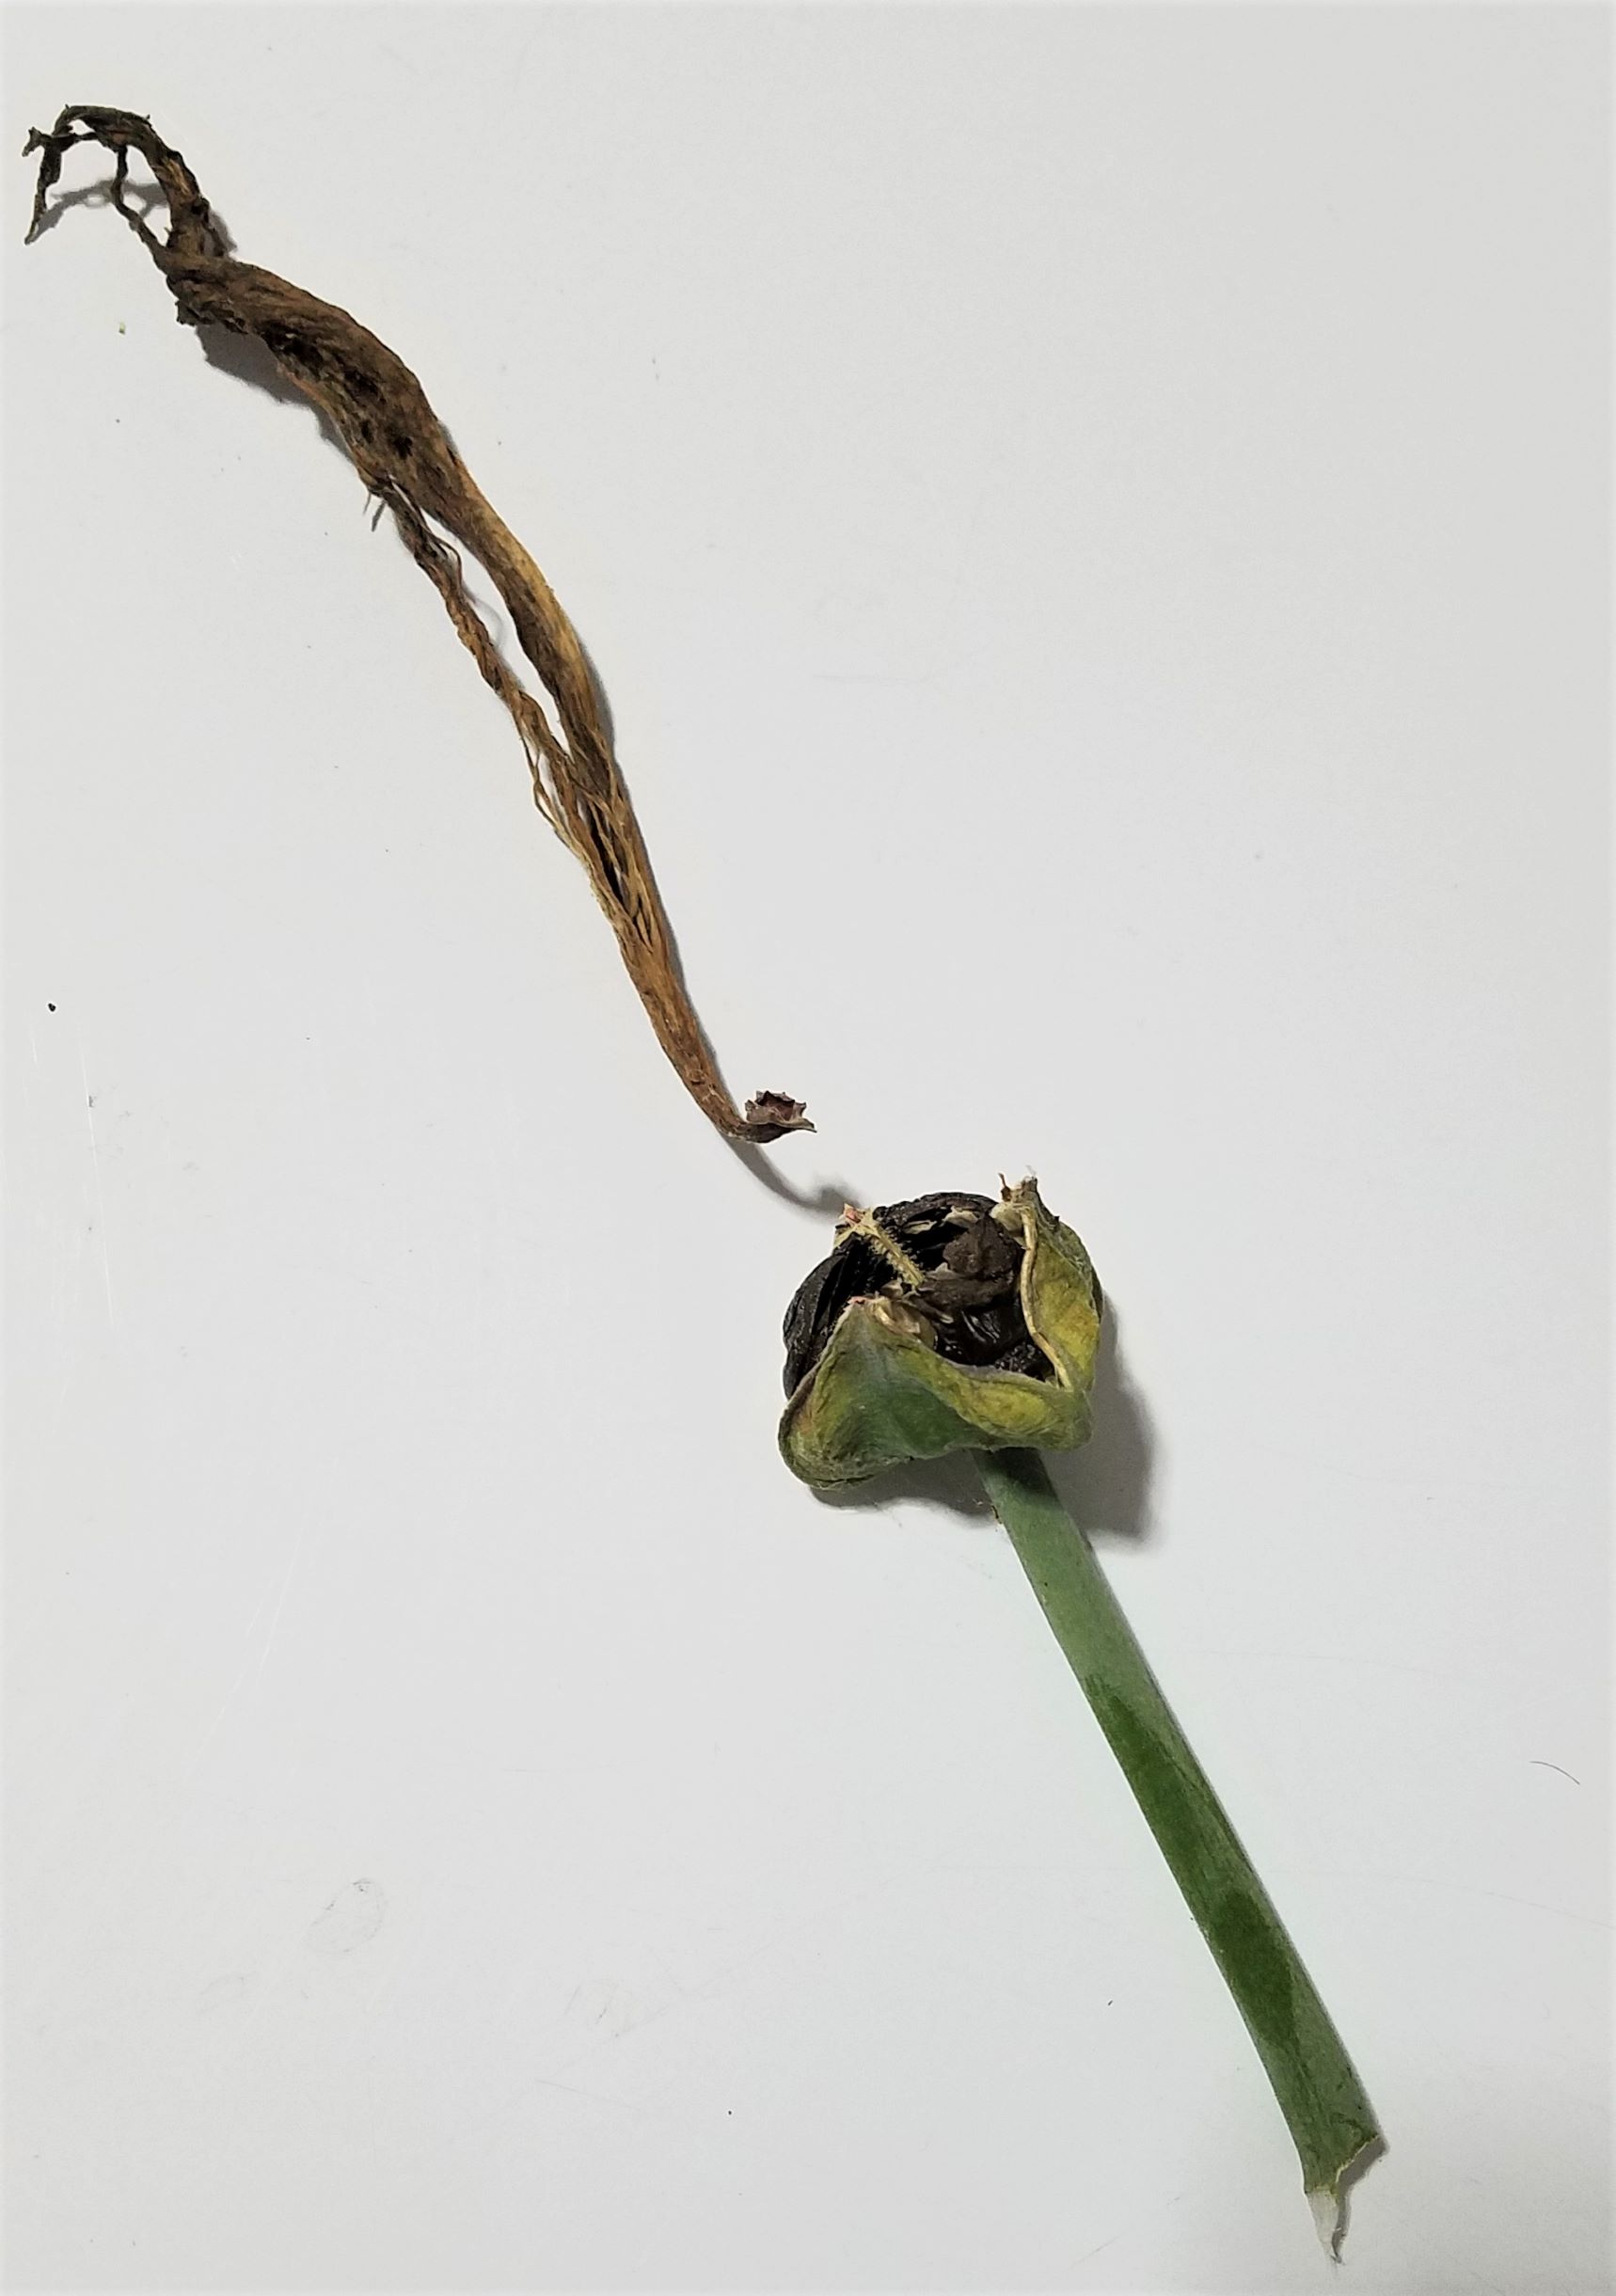
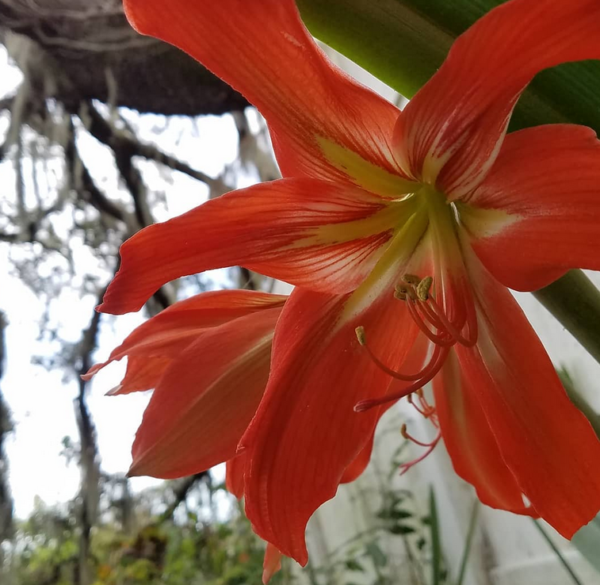
A couple of years after we first bought the house, a mystery plant showed up in the back yard by the neighbor’s fence. It opened close to Easter weekend to reveal it was an amaryllis. Since then it has slowly grown in size and flower stalks. We have not lifted it to separate the offset bulbs and plant them separately. But I have gathered a seed pod and embarked on growing new plants from seed.
Amaryllis from seed will take a few years to become a mature plant and bloom, and they may not be the same as the mother plant at all. I’m no stranger to waiting for plants (hello pineapple), so I figured I’d give it a try.
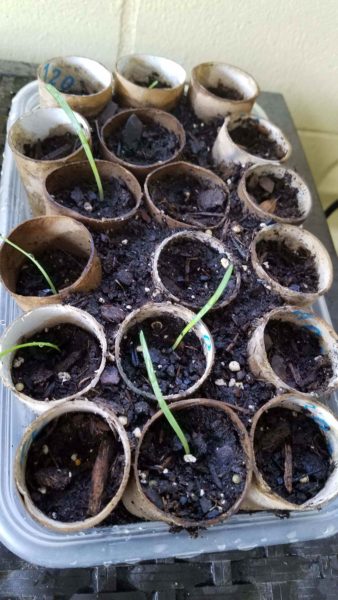
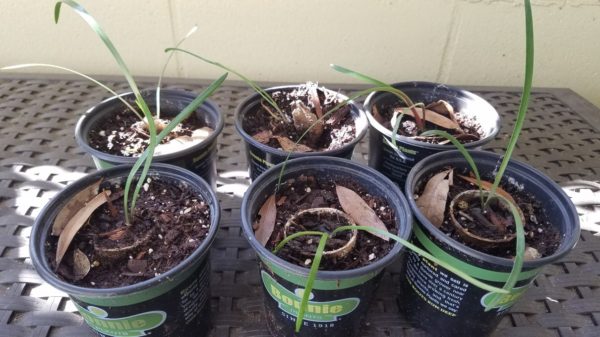
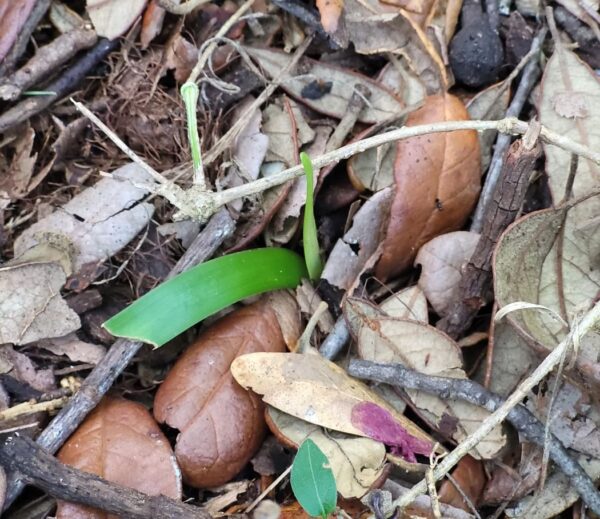
over 4 weeksalmost six monthsplanted out at over 18 months
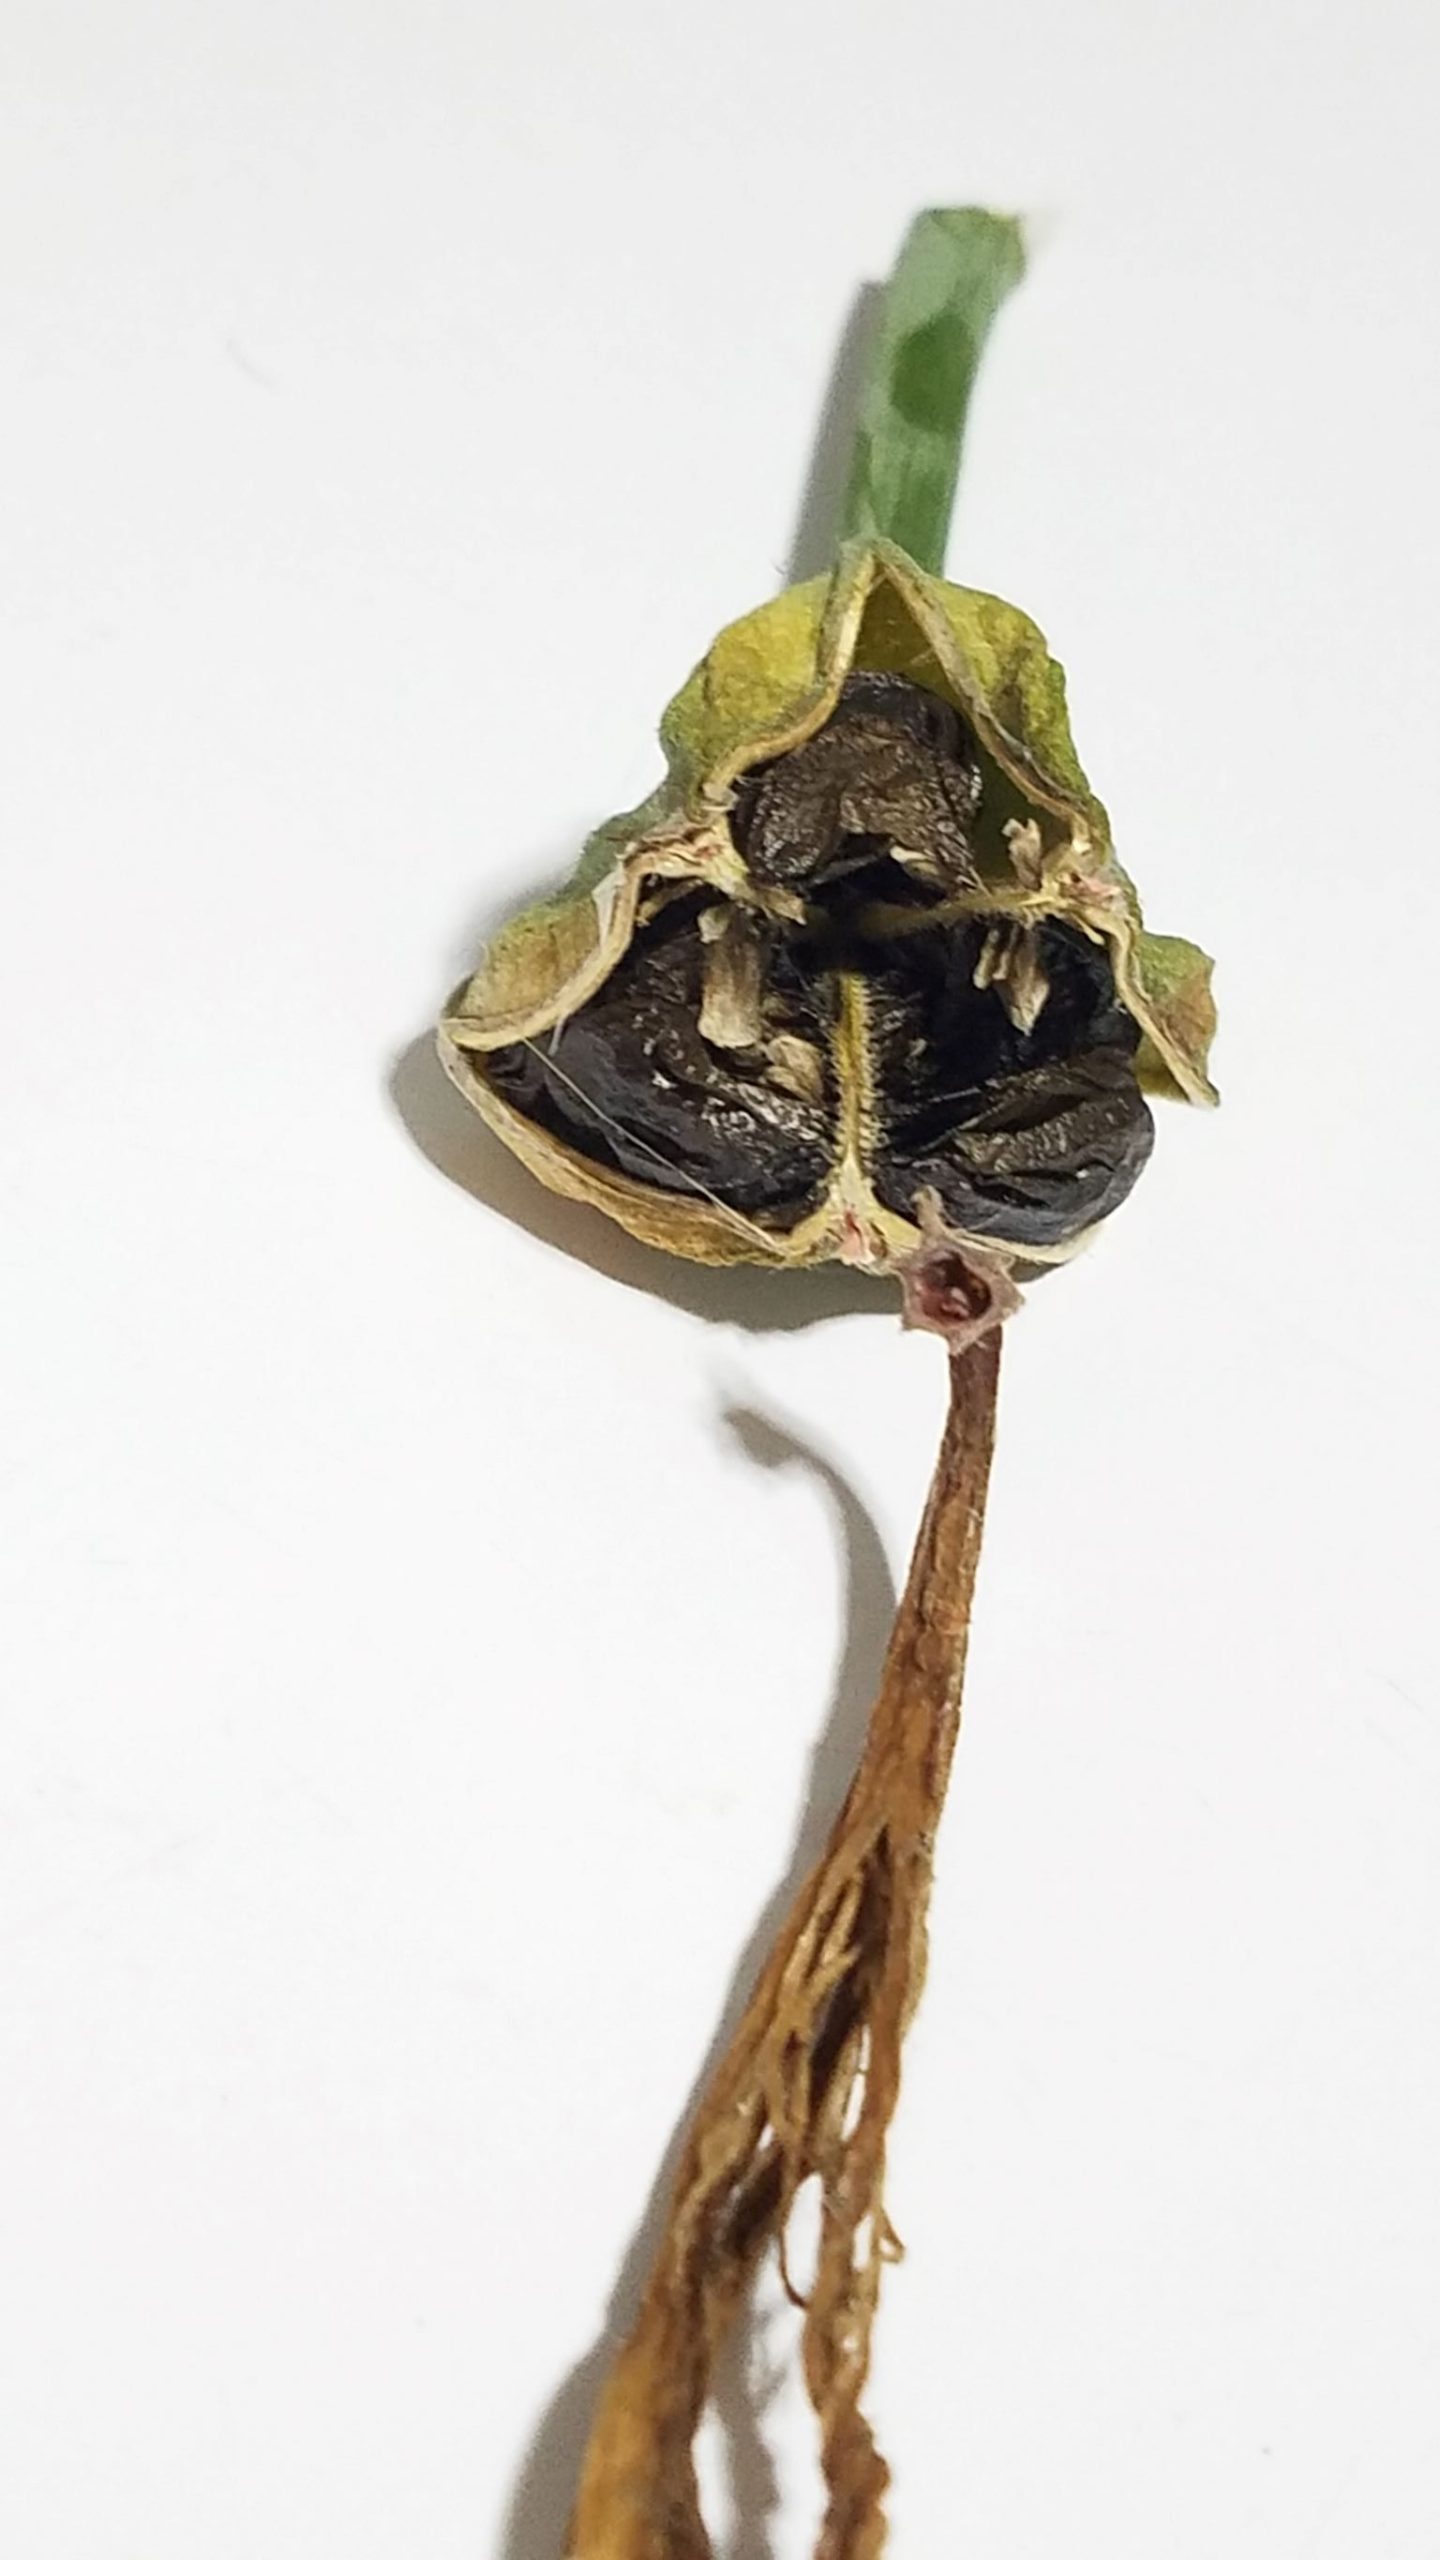
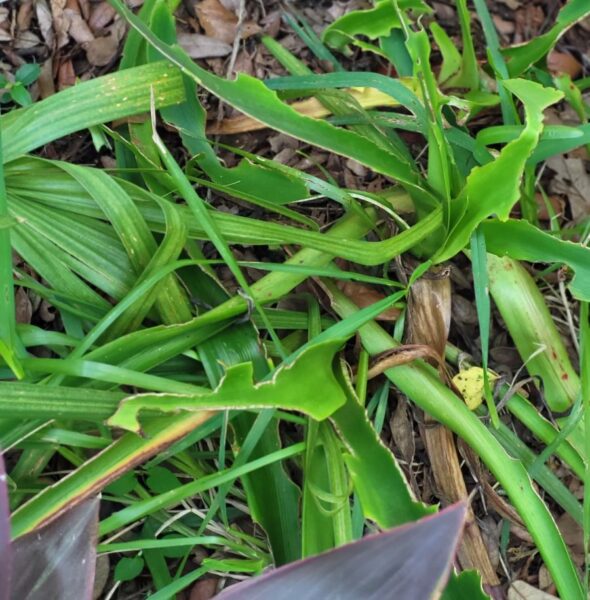
After almost two years I got tired of tending the little grass shoots in their pots. They had really only gotten a bit fatter. We planted them out near where the original plant had self planted in the yard. And, they were immediately eaten down to the ground. Not surprising since the original plant looked like this by the end of the spring:
It has spread a bit since we first noticed it and has several whorls of leaves from which erupt flower stalks each spring. I am hoping that the babies I planted out will somehow fight their way through to flowering someday. Though, I’m not sure how far away that someday may be. Five years? Who knows. Eventually, we might get a mess of this:
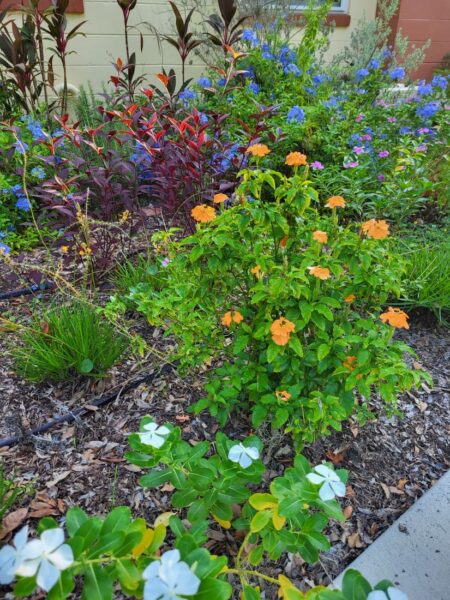
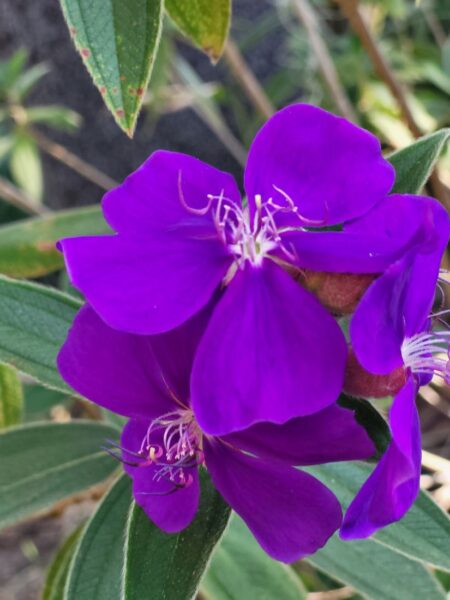
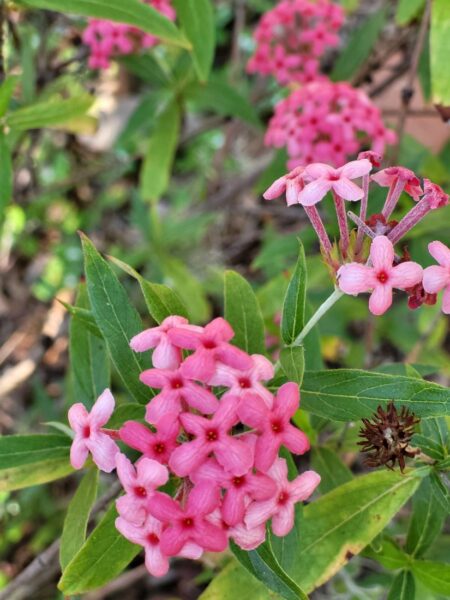
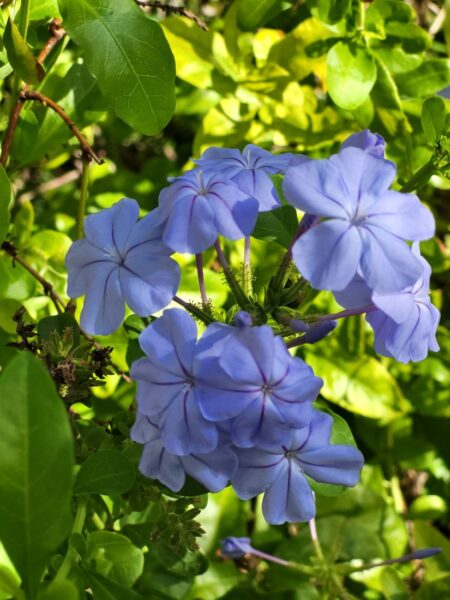
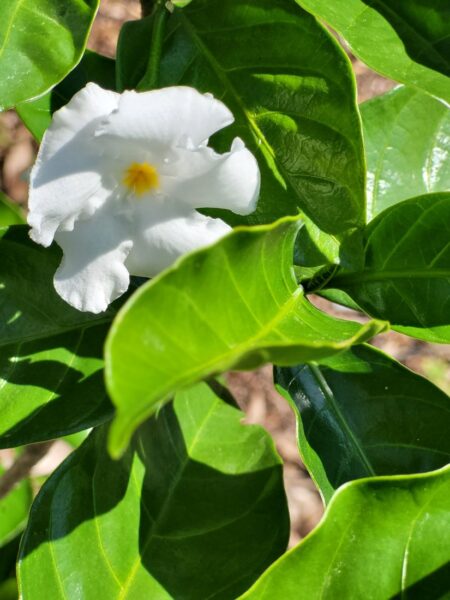
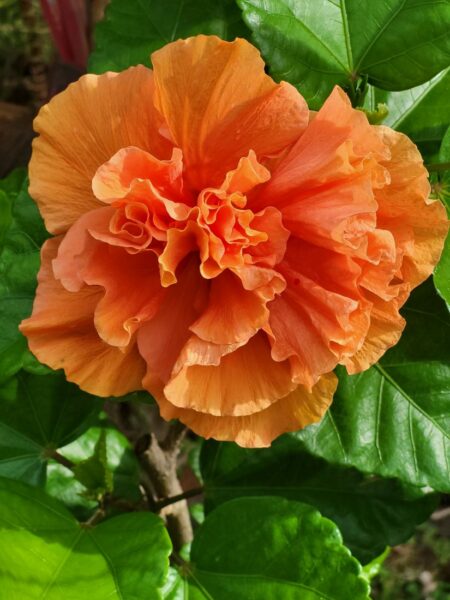
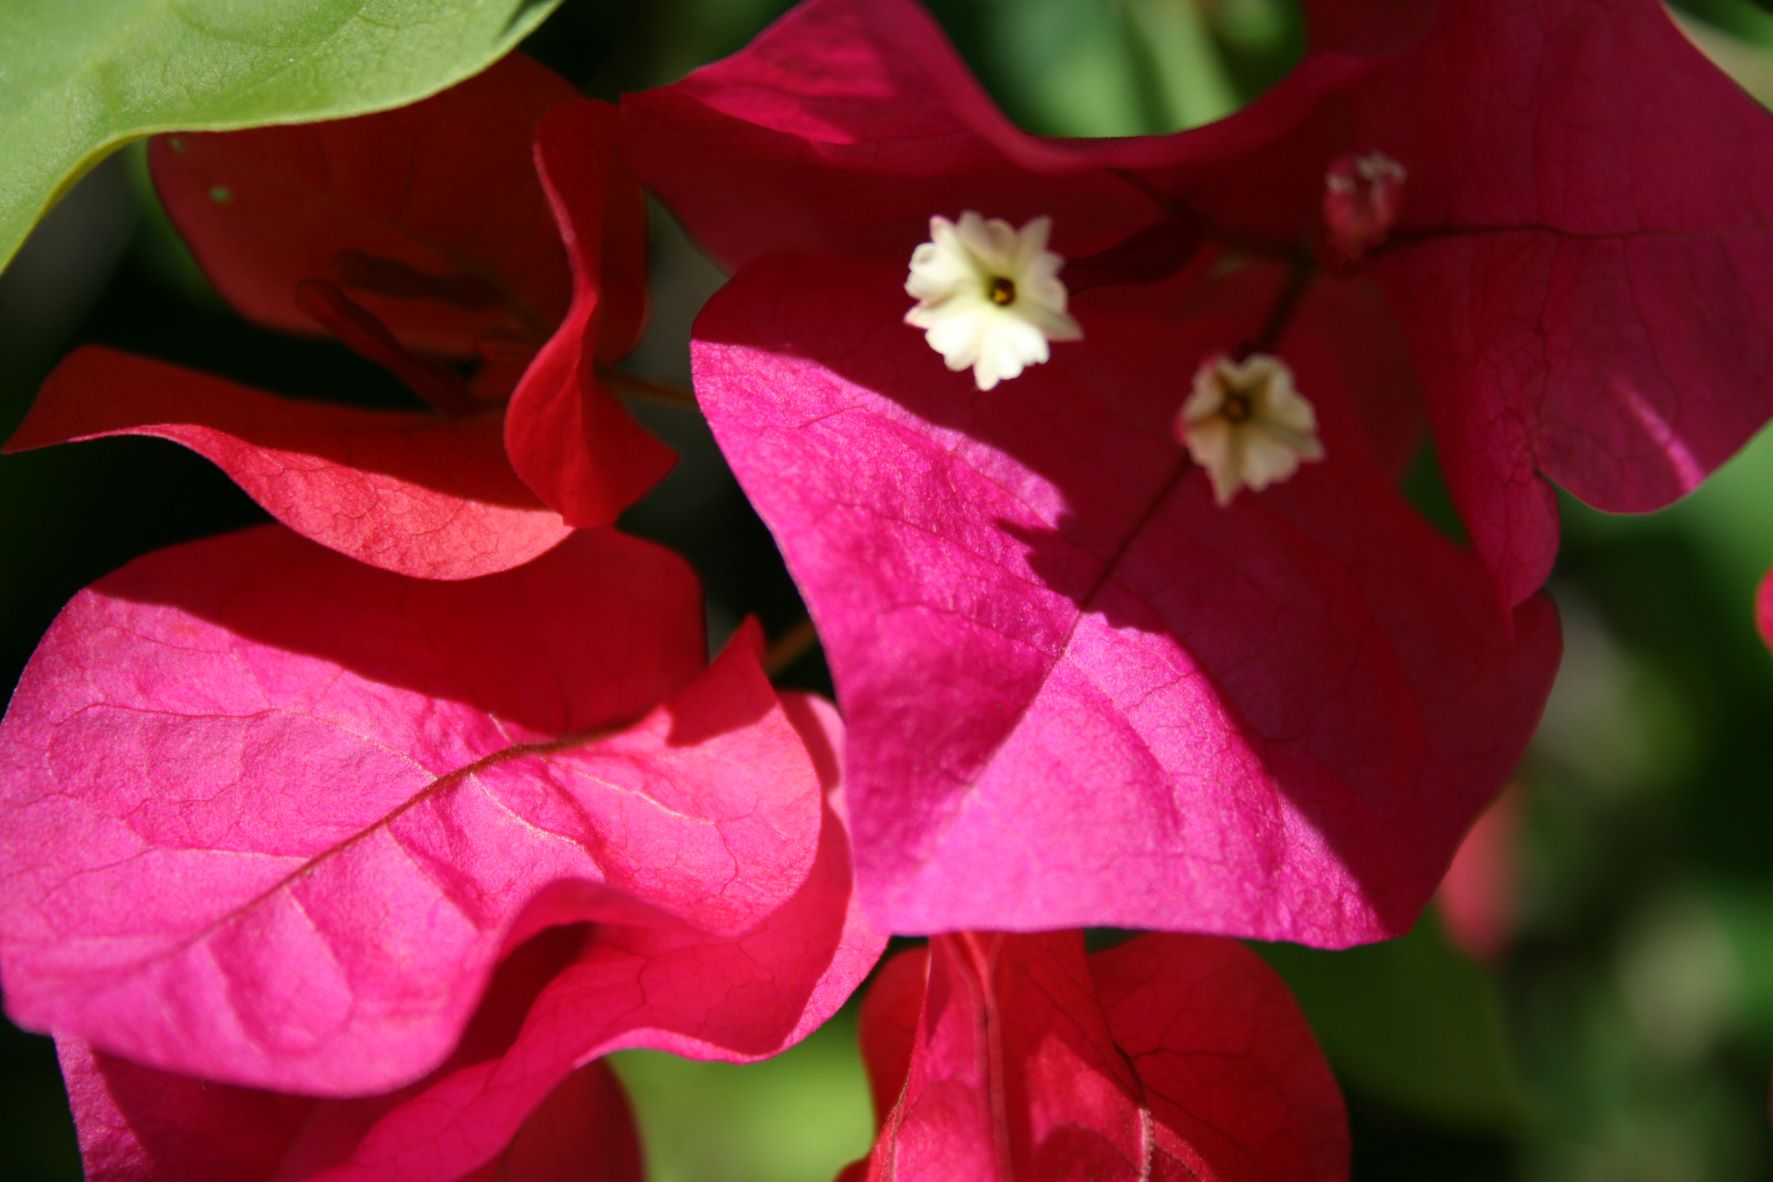
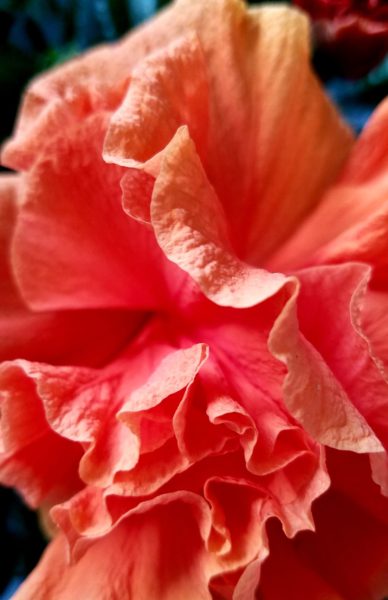
Right after buying the house I decided we needed to eliminate all the grass in between the front sidewalk, that ran a kind of wonky-parallel to the house from the driveway to the door, and the house. It was not a quick process, but now I have, what I call, my long awaited mixed border. It’s looking impressive this year for the first time I think.
I’ve become a little more regionally inclined in my recent vintage recipe book purchases and I was extremely happy to find that some of these books included recipes for materials that usually have to be grown or obtained directly from someone who grows them.
Each of the books above yielded at least one recipe that I consider more for the gardener trying to figure out what to do with their new harvest than for a cook who normally gets materials from the store.
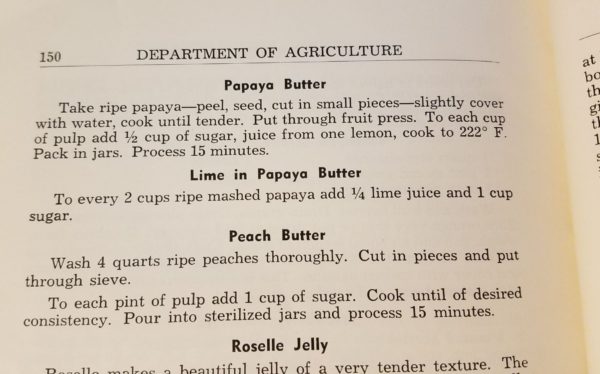
Papaya Butter from Florida’s Favorite Foods by the Florida Department of Agriculture
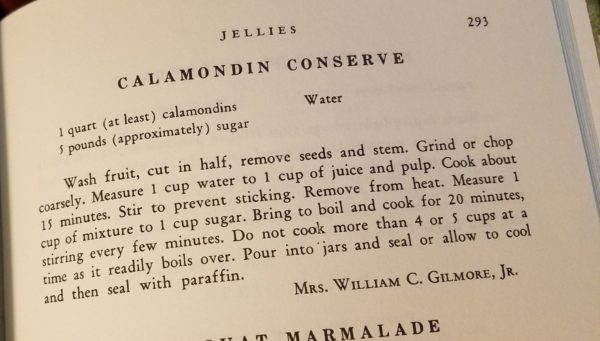
Calamondin Conserve from The Gasparilla Cookbook by the Junior League of Tampa
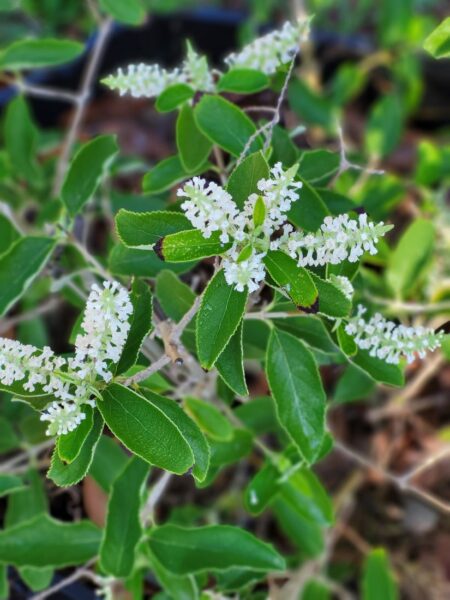
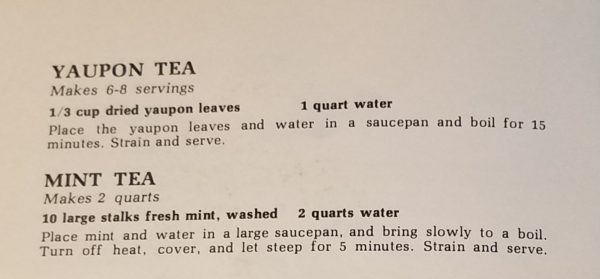
Yaupon Tea from American Indian Cooking & Herb Lore by J. Ed. Sharpe and Thomas B. Underwood
Monstera Deliciosa from Louise’s Florida Cook Book by Louise Lamme
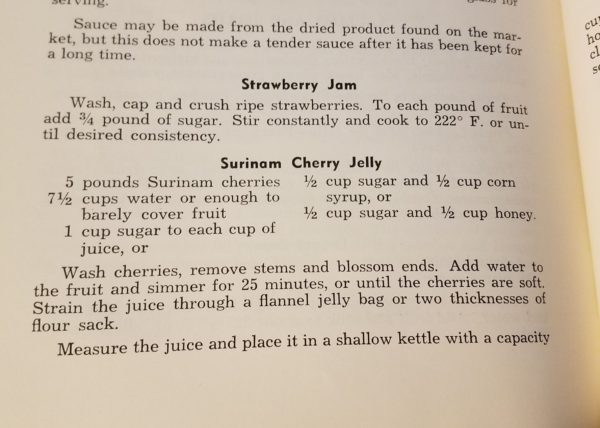
Surinam Cherry Jelly from Florida’s Favorite Foods by the Florida Department of Agriculture
While my calamondin tree bit the dust (I suspect greening) and my papaya is far from producing fruit, I do have a handful of established surinam cherry bushes. I am super familiar with the monstera deliciosa as a garden plant but I do not have one of those either, and I would love a yaupon holly.
However, I do have a sea grape, that I understand produces human edible fruits, and a volunteer loquat tree. I have also been following Eat the Weeds and Other Things Too, trying to figure out an offensive against some of my most pernicious garden adversaries. I will have to experiment some and see how these things can be worked into daily food.
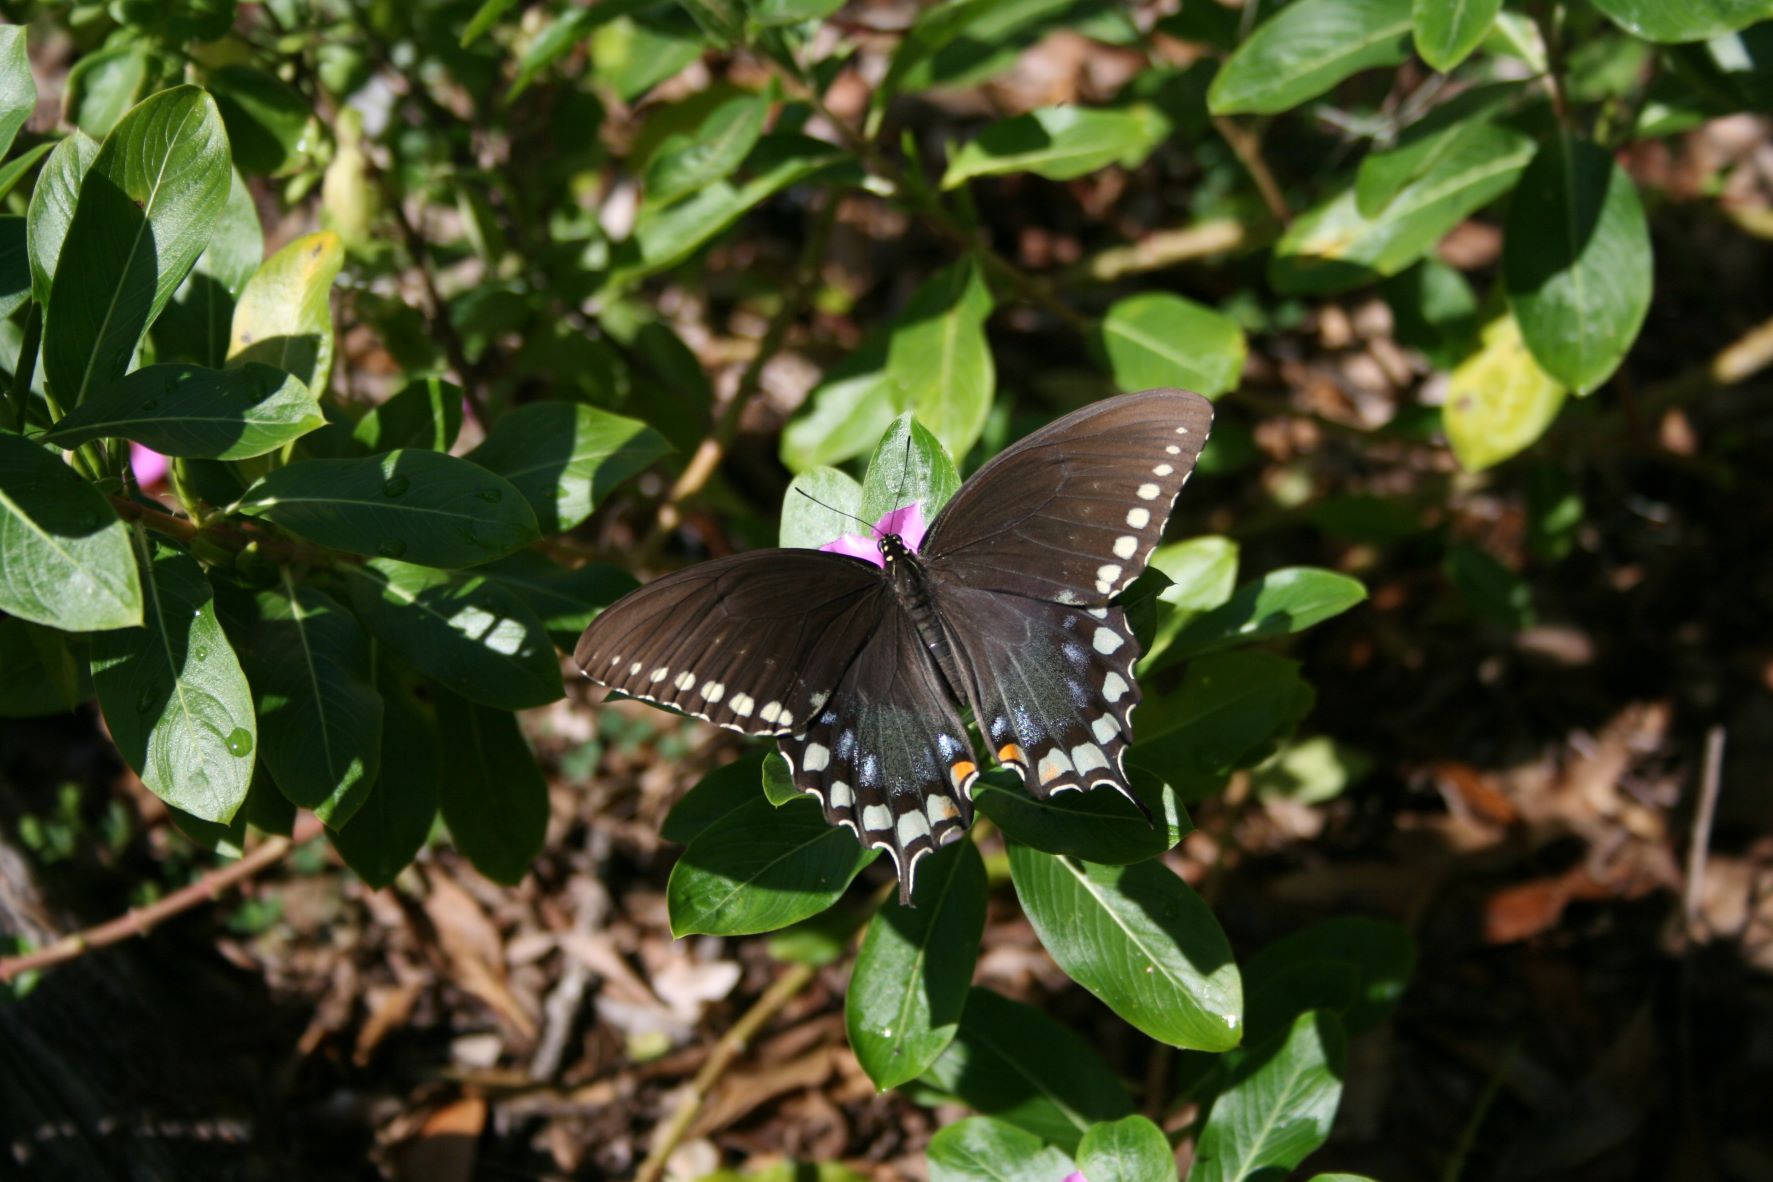
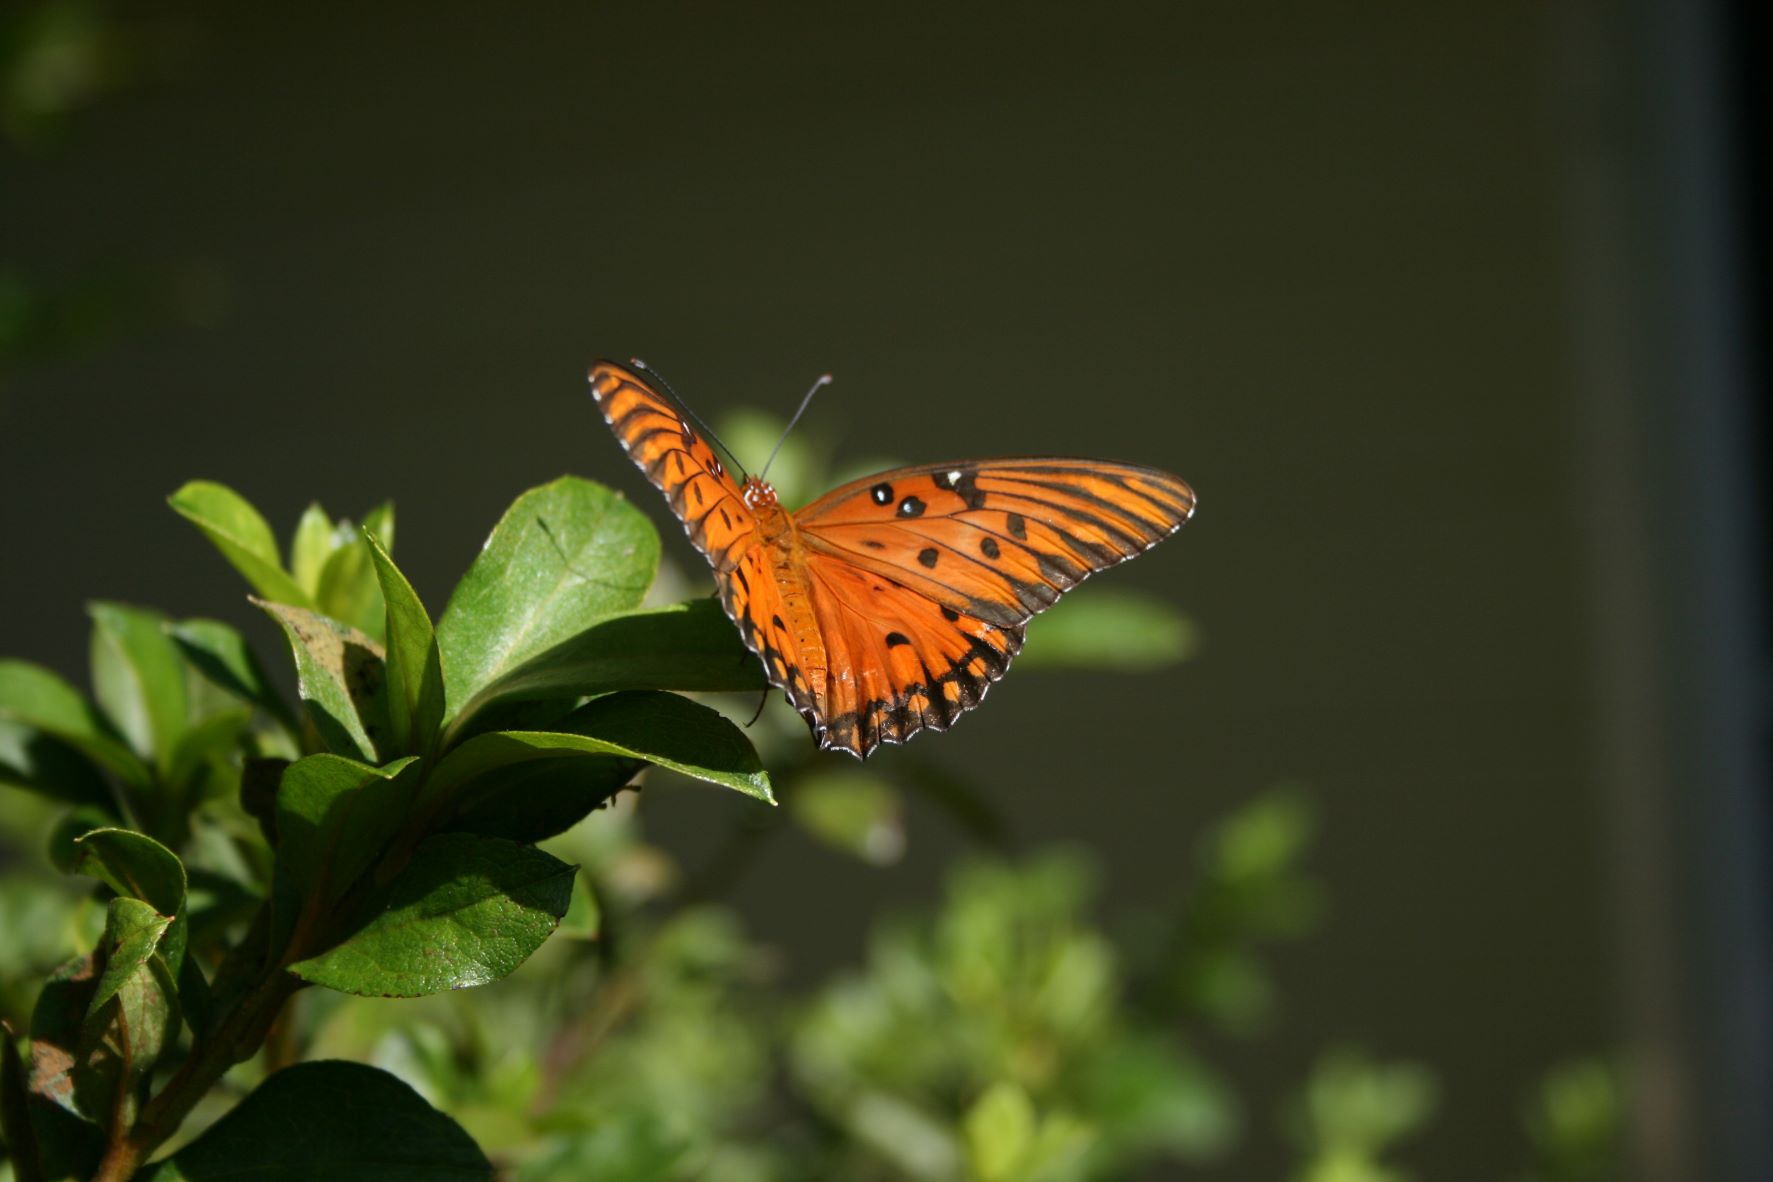
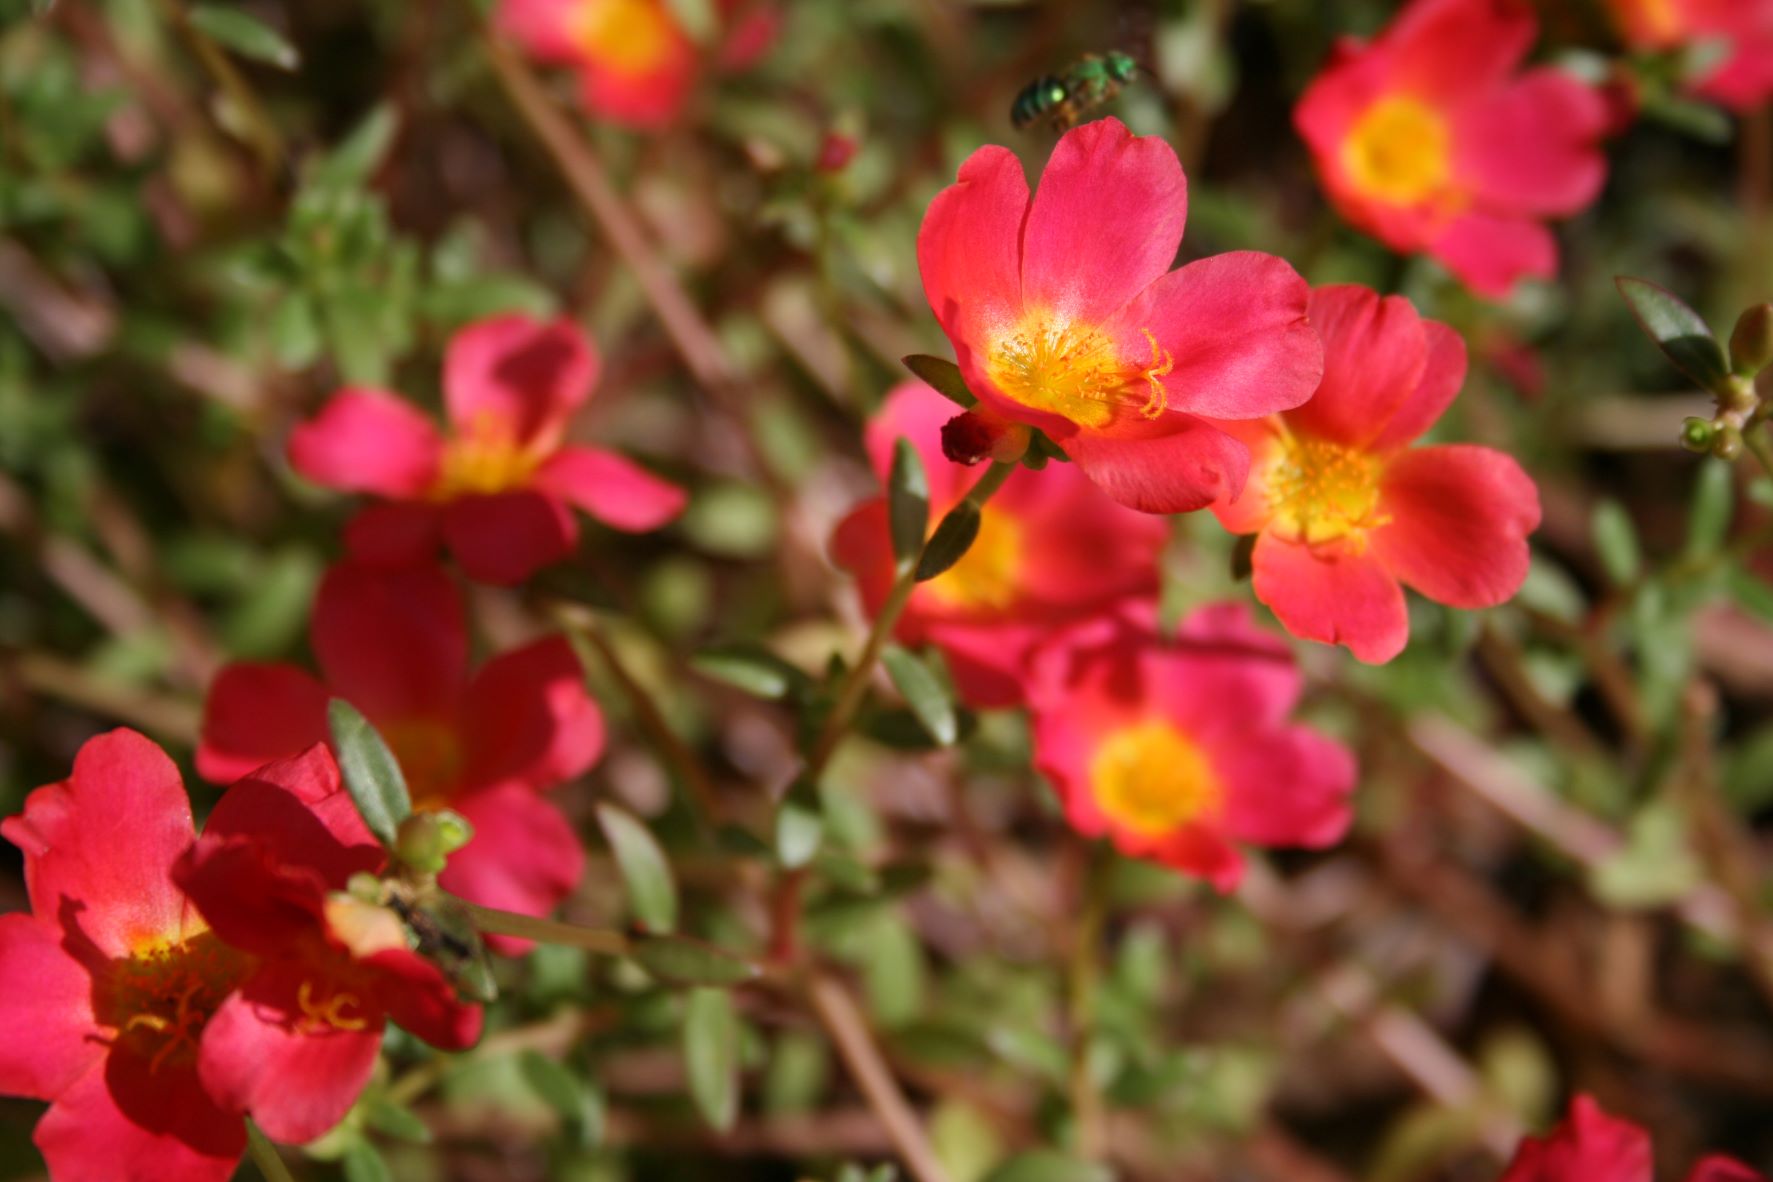
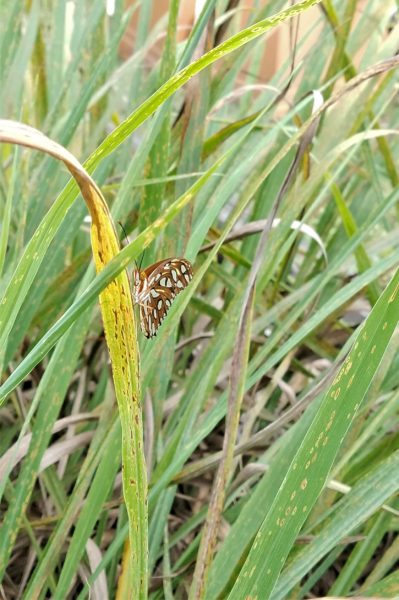
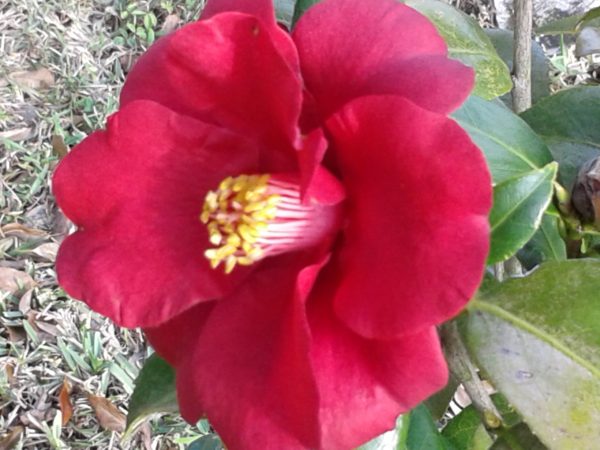
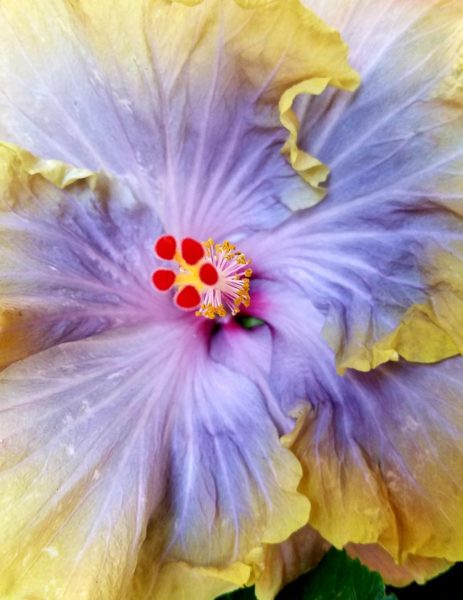
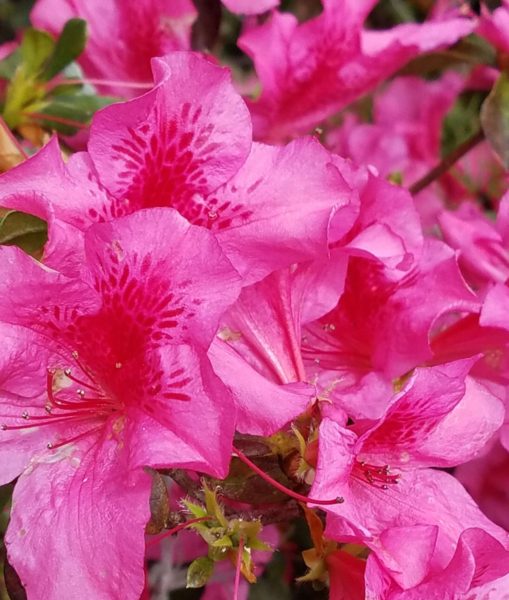
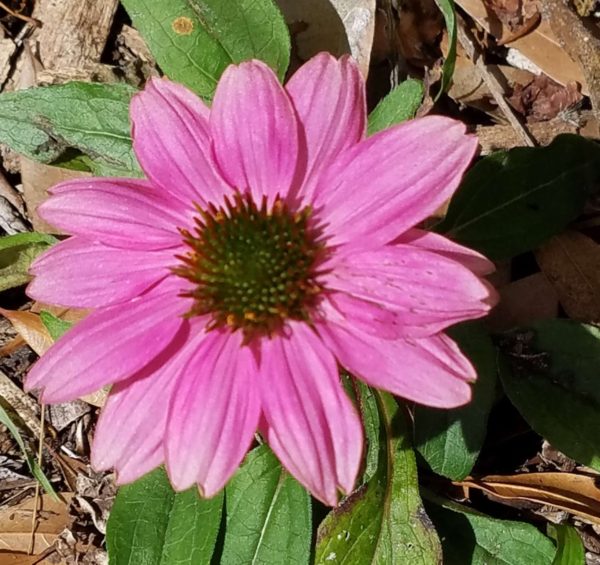
Just a few snapshots from fall. The sunflowers are long gone now. I was quite happy with them, though. They are the first non-herb annual I have ever tried. Definitely the first from seed. The blanket flower is still going strong and I never knew just how much I would like the architecture of the sea grape, until now.
First off, this is a learning journey where I ramble about a thing I tried. If anything, maybe it will help ya’ll get ideas or learn from my mistakes, but it is so not a tutorial to replicate.
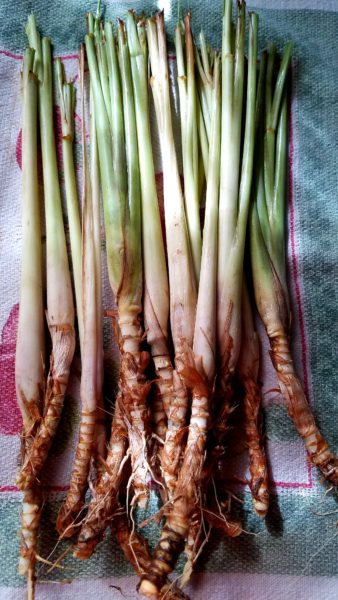
I received three weak looking stalks of grass from a co-worker one spring. I planted them and by the next spring had a sizeable spray of pleasant smelling and surprisingly fierce lemongrass. This stuff will cut you up, seriously. So, I pulled it up and divided the clump into three, harvesting a handful of it without really knowing what I was going to do.
After pondering for a while, I decided to make a tea that I could add to moisturizers, astringents, and facial refreshers that I was making.
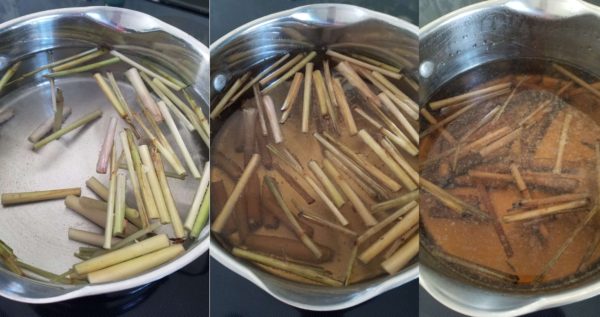
A.) not ready yet B.) this is fragrant and ready C.) this is too far and smells like old tea
Of course I looked online for ideas and no, I wasn’t going to make a hydrosol or attempt to extract the essential oil, because I didn’t have the equipment or the patience for all that. A tea would be good enough. It wouldn’t necessarily have the shelf life of other permutations but I would deal with that.
And all of this would’ve been fine if I didn’t start by over steeping the tea. I don’t think it really ruined it for what I wanted, but it got way past the point where it smelled lovely like lemongrass cosmetics. The first thing I did, of course was clean the stalks off. Then I bruised them and chopped them up and put them in a big ole pot of water to simmer slowly. I can’t even tell you how long but I did remember to take pictures of the process. Pic B would’ve been perfect. Pic C was overcooked, really, but was like tea that you’d get from a teabag when making the concentrate for iced tea, complete with the oils that sort of float on top before you dilute it with an equal amount of water.
So, in the end I did use it, but not all of it, to make a nice facial wash and it was sort of pleasant. Lemongrass is an anti-microbial, anti-bacterial, and fungicidal herb, so it is really good at warding off infections, acne, rashes, etc. Lemongrass tea can also be drunk, of course, but I made it a bit too strong and that lovely aroma just sort of ends up tasting like soap in large quantities.
The three bunches of lemongrass that I replanted after dividing are now as big as the original clump and it’s only been a season. I’m going to have to get better at using it for all sorts of things. And, I’m going to need to get some gauntlet gloves probably. The cuts from lemongrass aren’t quite as bad as when a pineapple gets ya, but they are much harder to avoid.
When I first figured out that the huge, sharp, spiky plants that came with our house were pineapple, I went looking online for instructions and tips for growing and harvesting the plants. While I found some really helpful information, like suggestions to move the plants into the sun for better fruit production, I also found a chorus of recommendations that have proved untrue for my situation.
What is my situation? I live on the west coast of central Florida in planting zone 9. The north side of my house backs up on a lake, so there may be a little bit of a micro-climate happening that can protect the plants in my back yard from minor freezes. I have my pineapple plants in raised planting beds established by the previous owners of the house. I think the beds have a weed blocker on the bottom which means whatever I plant in there only has 8-12 inches of depth for root growth. The beds are filled with a variety of sand, enriched soil, compost and decomposing leaf mulch.
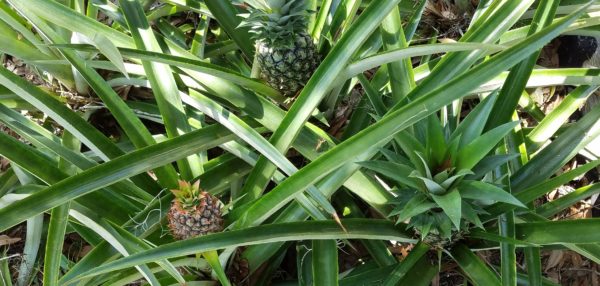
Myth # 1: you need a lot of sun
While pineapples thrive in sun and the ones that came with the house burst into action when I first moved them, I no longer think that they need full sun here in central Florida in order to be healthy and fruit on schedule. I now have a few at one end of a bed that gets pretty consistent shade all afternoon, and some of them have fruited in their first year! I exclaim because up until this year all of my pants regularly took two years to fruit. Add to this, the tendency for the developing fruit to sunburn in the heat of summer if tilted to one side, and I think at least a little shade might be beneficial.
Myth # 2: Amend your soil and fertilize
Admittedly, I have my pineapples planted in a raised bed with a healthy mix of soil and compost. However, I did not pH test, nor do I bother amending the soil on a regular basis. The most I do is spread the oak leaves I sweep up from the side of yard as mulch to help keep the weeds at bay. Pineapples are not picky; they are not fussy. They get some of their water from the air and do not wholly depend on their shallow root system.
Myth # 3: When to harvest aka pineapples don’t ripen after picking
I found several sites that confidently proclaim that pineapples don’t ripen after harvest. Along with this comes the information that color is no indicator of ripeness. Well this is all just hooey, in my opinion.
For one, I harvest my fruits before they are completely ripe and I judge ripeness on color and smell. When harvesting I cut down low on the stem and then leave the stem attached. I’ve found a fair few sites that mention this method, but the idea is that there are nutrients in the stem that the fruit continues to feed on, helping it ripen. Yes, you can eat a pineapple that is not completely yellow*, but the color in a pineapple does in fact change as the fruit ripens. (*I am speaking from experience with one type of pineapple)
I think of it like a banana, you can eat the green-ish ones but the ripest fruits are yellow. Speaking of bananas, I’ve run into instructionals on forcing a pineapple plant to fruit by using the ethylene emitting powers of a banana and wrapping the plant in plastic. I can’t comment on whether this works since I’ve never felt compelled to try. Yes, a pineapple plant can take two years from planting before it fruits. However, it doesn’t really take very long before you have a small crop where there are some plants fruiting every year, so I found it easy to be patient.
Myth # 4: The best time to plant
This myth is simply that humans can determine the best time to plant. Some suggestions I find say it is Jan-Dec, another says early fall because the continued rain and warmth will set them well. The best way to tell when it is a good time to plant is to have a plant already. My pineapples tell me when they are ready to reproduce. When the pineapples in my yard start to fruit they also start sending up little pups from within the leaves of the plant, sometimes on the stalks underneath the pineapples (which may be called slips, I think). If you don’t plant the slips when you harvest the pineapple, they are wasted since their connection to the mother plant isn’t all that strong. And if you don’t separate the pups from the mother the growth of the new plant will be stunted. So, all in all, the best time to plant is when the plant is reproducing. Often this coincides with harvest time where I live, which is around mid to late summer.
Without disparaging the multitudinous other instructionals out there, I wanted to give you my own info session on cutting up a pineapple. After a few years of growing them, and increasing my yield each year, I feel like I have learned things that I was never able to find out online.
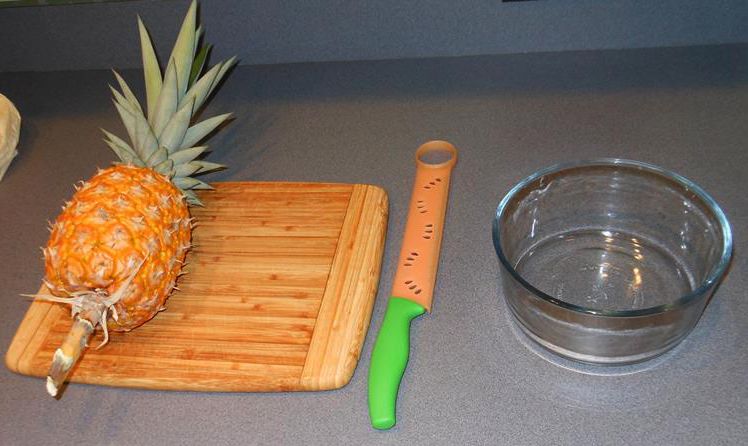
Get everything ready: cutting board, good knife, bowl for fruit, bag or container for refuse.
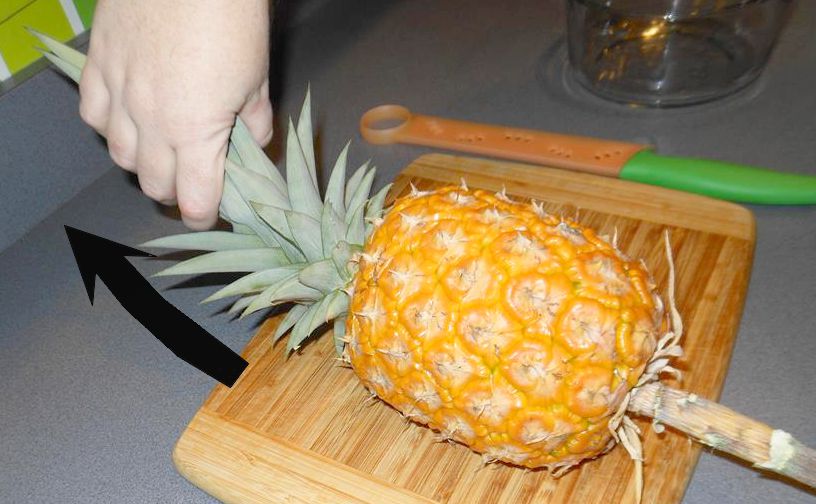
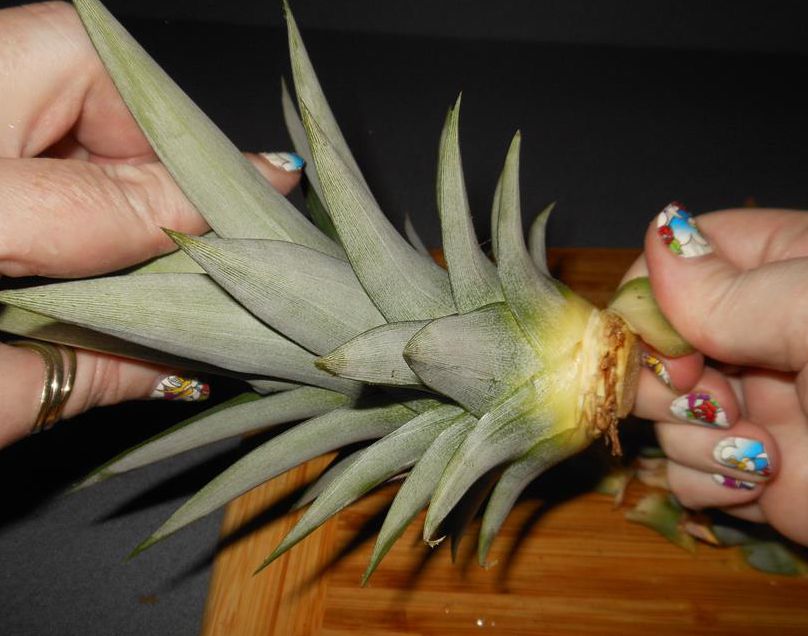
Pineapples can be sharp, to lessen the chance of cutting your fingers, grab the top while moving your hand up from the base of the leaves.
Cut off the bottom.
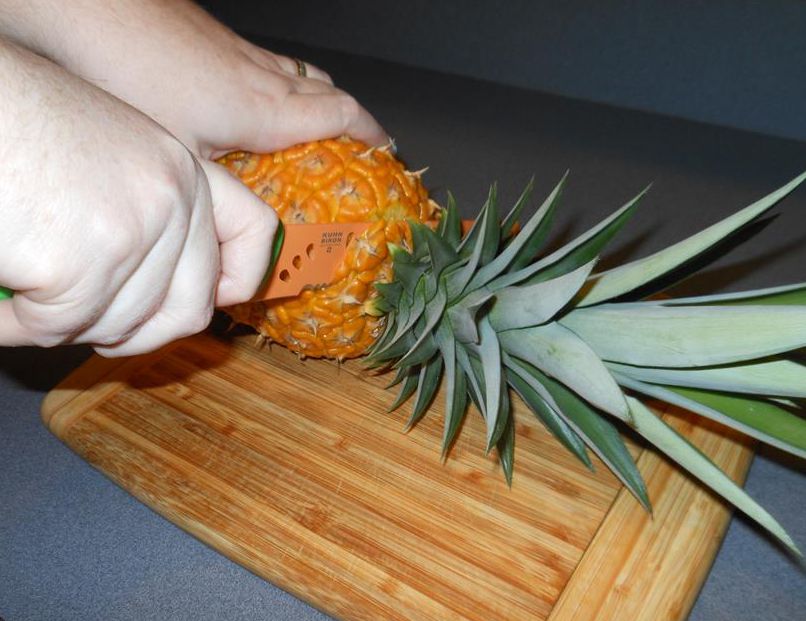
Cut off the top. Note: Pineapple juice will seep into your skin and it will sting any cuts or scratches you have on your hands.
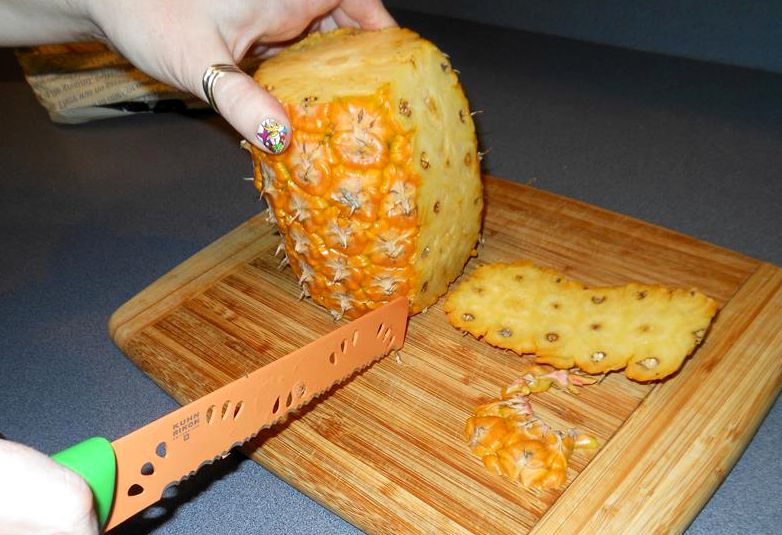
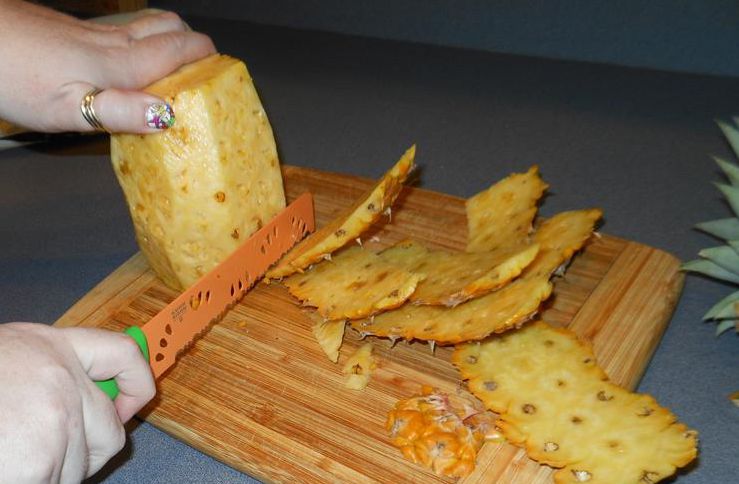
I cut strips off the sides on a curve to preserve as much fruit as possible.
Make sure you have cut off all the rough textured skin and spines.
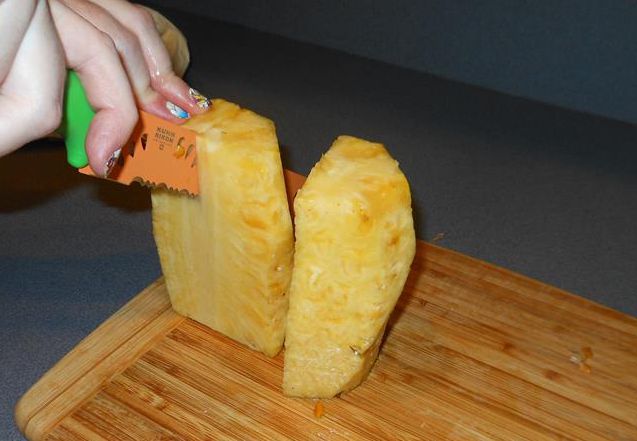
I’m not making rings, so I cut in fourths.
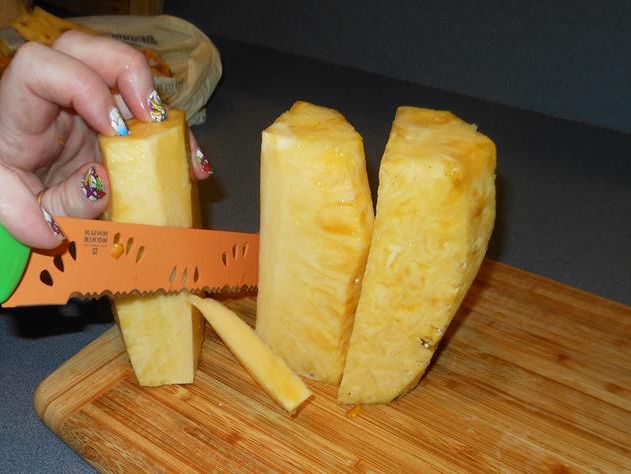
And that makes it easier to cut out the core. The riper the pineapple, the less woody this center bit is.
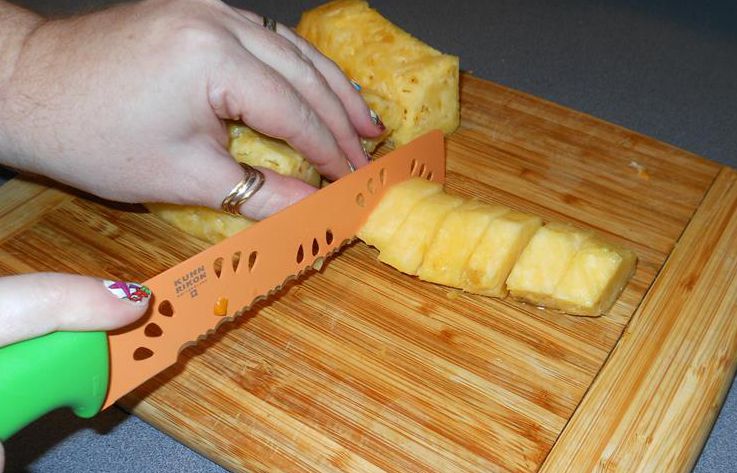
Cut in peices.
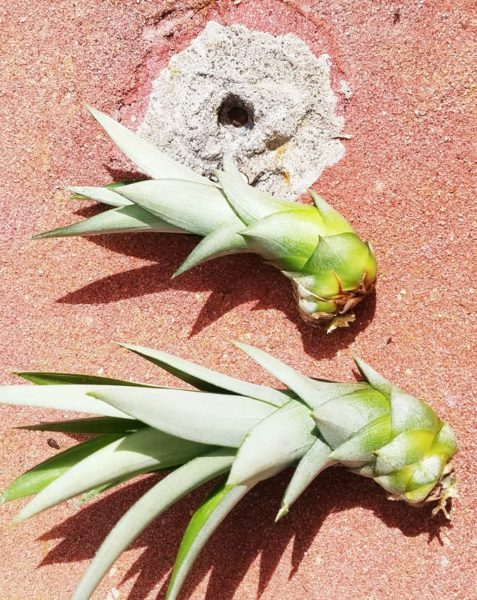
To preserve and grow the top, first, cut off all the flesh from the base of the leaves.
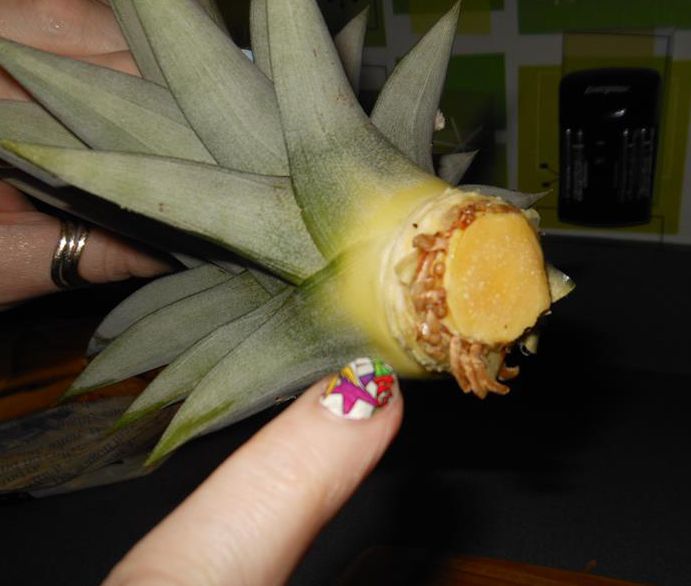
Then peel a few rows of leaves off from the bottom to expose the base. You are looking for small dots that will form roots.
This one was really really ripe so the roots were already starting to form.
Now, your pineapple is ready to eat. If you want to freeze it, I suggest positioning your cut pieces on a parchment lined baking sheet. Set the whole baking sheet in the freezer until the fruit is frozen and then you can tip all the frozen fruit pieces in a bag.
If you are preparing and saving the top for planting, set the prepared top in a vase (without water) or somewhere it can dry out a little longer. After a few days stick it in the ground and water well for a week. This is all I’ve ever needed to do to keep multiplying the amount of plants I have.
It should be of no surprise that I am once again talking about pineapples. I remember our first attempts at yarding after buying the house. I made a hesitant identification of some spiny, succulent like, grasses planted against the house. Based on a theory that they were pineapples, we moved them. It may have been one of the hardest things we ever did with plant materials. Then they fruited! Now, it seems like pineapples are one of the sure bets in my yard.
So this year, I bring you the seven stages of pineapple. The fruit, that is. The stages of plant would be a whole different thing that, I guess, I should probably get around to documenting as well.
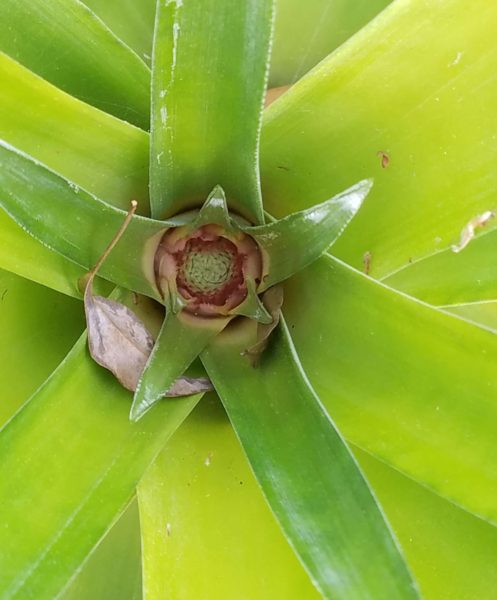
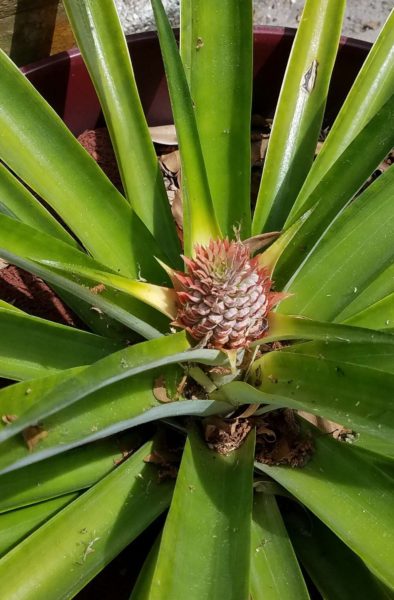
Stage 1
aka this plant is gonna fruit this year. Usually stage one happens around March to May depending on how dry the plants have been over winter.
The flower bud looks like a tiny pinkish proto-pineapple nestled in the whorled center of the plant.
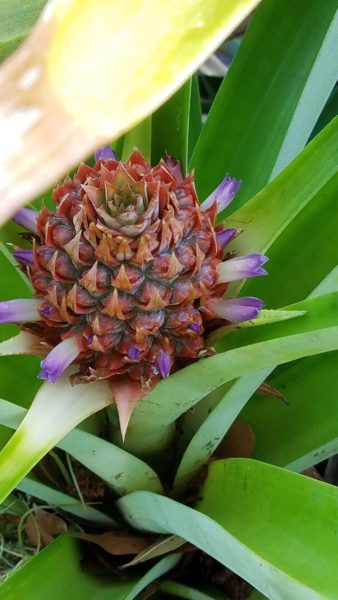
Stage 2
This is where you see actual flowers emerging from the spiny segments of the bud maybe one or two weeks following the initial indication that the plant would fruit. Each flower sets a fruit just like many other fruiting plants. So, each segment is a fruit in its own right, and a pineapple is actually a clustered formation of many smaller fruits.
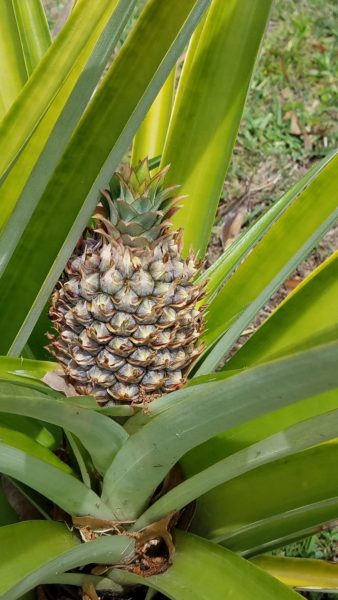
Stage 3
More weeks pass and the emerging pineapple becomes more recognizable. The segments are still very separate, rough, and sharp, but the overall shape of the fruit and leafy top is beginning to form.
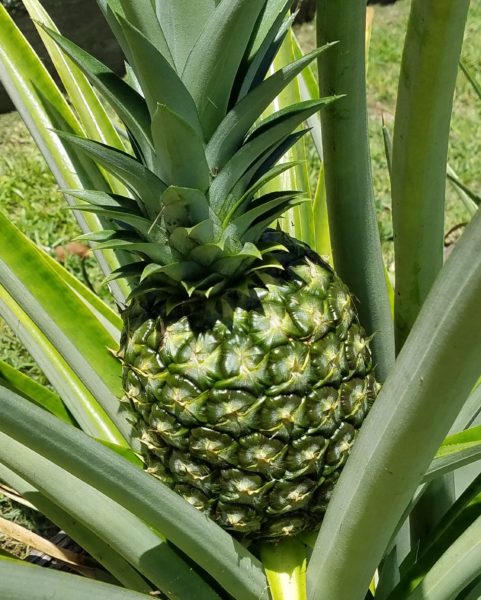
Stage 4
After months, it will seem to you as though nothing is happening, unless you have been photo documenting the fruit’s progress. You can just make out that it is getting bigger, the sections are beginning to flatten and the whole fruit is becoming green.
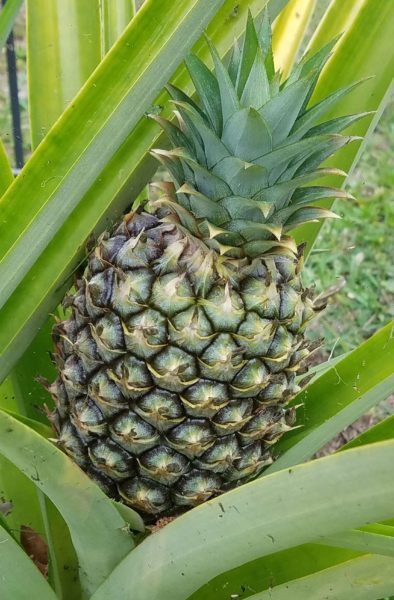
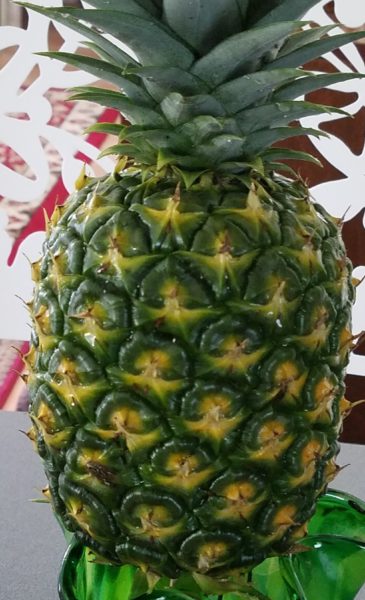
Stage 5
Another month or so, and you will be able to see the individual sections are completely flattened and filled out. It is still green, or, perhaps, more deeply green, and it has no odor to speak of. This will change soon.
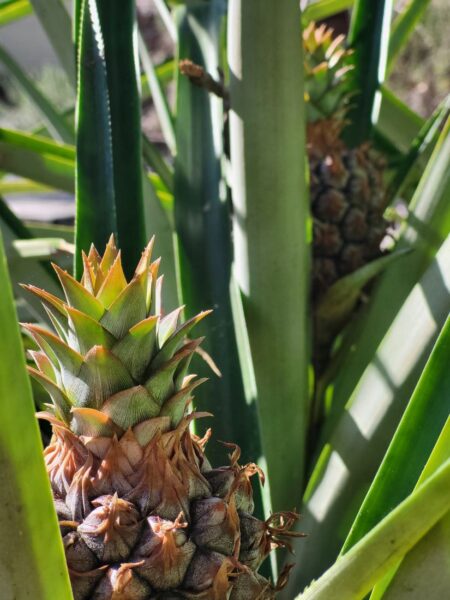
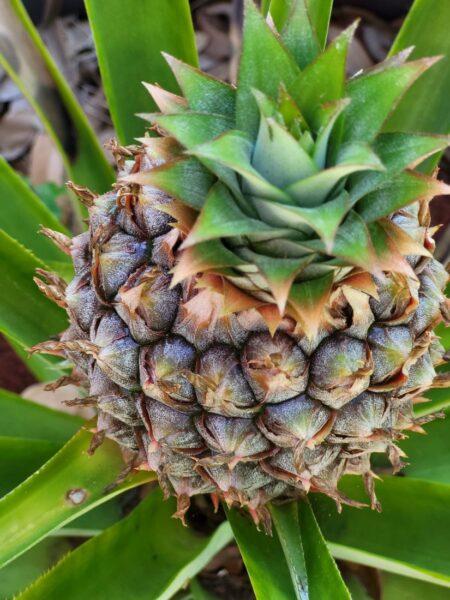
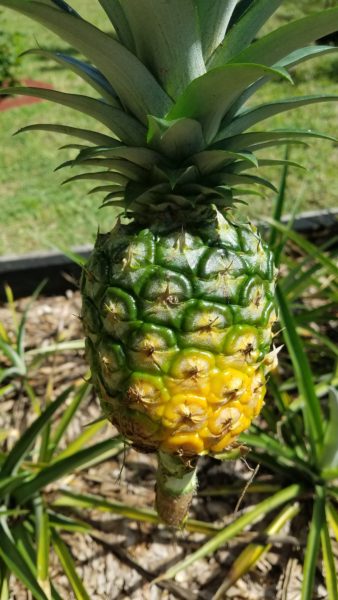
Stage 6
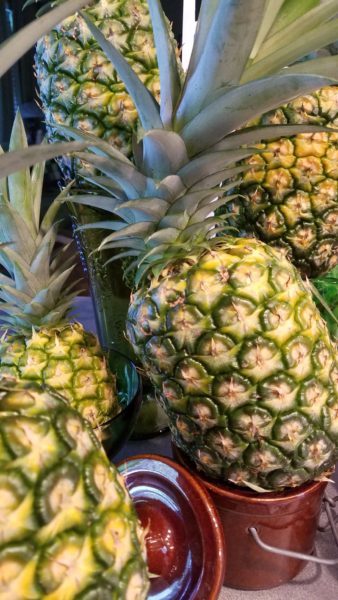
Harvest time! It may seem like weeks and weeks from stage 5, but keep your eyes peeled for the initial signs that it is time to harvest. Ideally, like the image on the left, it would be 1/3 yellow, but you can also harvest slightly before this if the centers of the sections have started turning yellow and you want to guarantee your harvest. I pulled the one in the center because the top side of the fruit was just beginning to get sunburned, as you can see from the pale yellow with orange tints. I also harvested the one to the right as a test to see if there was a too early. I cut the stem holding the pineapple a couple or more inches down and set them up in a vase on the table to finish ripening. Yes, they will.
You can leave the fruit on the plant until fully ripe. However, as the fruit ripens (outside or inside) it will begin to emit a wonderful pineapple-y perfume that many outside critters may find too delectable to resist. I’ve known fellow pineapple growers here in central Florida who have waited eagerly to harvest their fully ripe pineapples only to find them hollowed out by opportunistic raccoons, fruit rats, and ants.
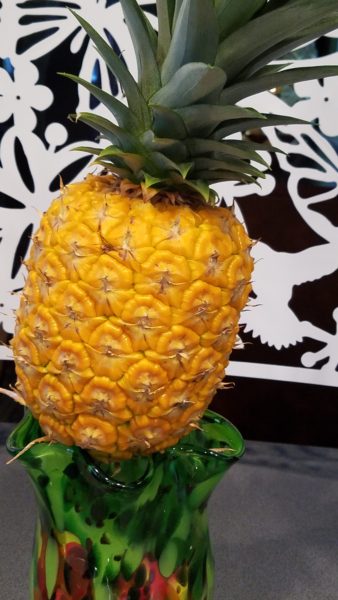
Stage 7
We are now deep in July. After a week and a half on the counter in a vase, the right hand pictured fruit above is totally ripe. As in, cut it up and eat it now, ripe! I could’ve cut it up and eaten before it was quite this yellow, but sometimes the pineapple waits for me and not the other way around.
At this stage of ripeness, I find the fruit tastes like Piña Colada without adding coconut.
There you have it, the seven stages of pineapple fruit in about 5-6 months. Check back for a how-to on carving this beauty!