Hello again, friends. I’m here with the latest installment of LeEtta’s gonna try something new, and also, making stuff with garbage. Now…picture it: central Florida 2015. A couple has moved into a 1949 block house with original bathrooms and tile floors, and spent their first winter in a house they would later call an icebox. To prepare for the next winter they get a couple more area rugs before turning their attention to the enormous fireplace in their living room.

But, even if the house is chilly during the season that Florida calls winter, it isn’t chilly enough, or chilly for long enough, for a full blown wood crackling fire. So, they outfit their fire place with pillar candles and light them up on the colder nights. Eventually they burn through 6 to or more a season.
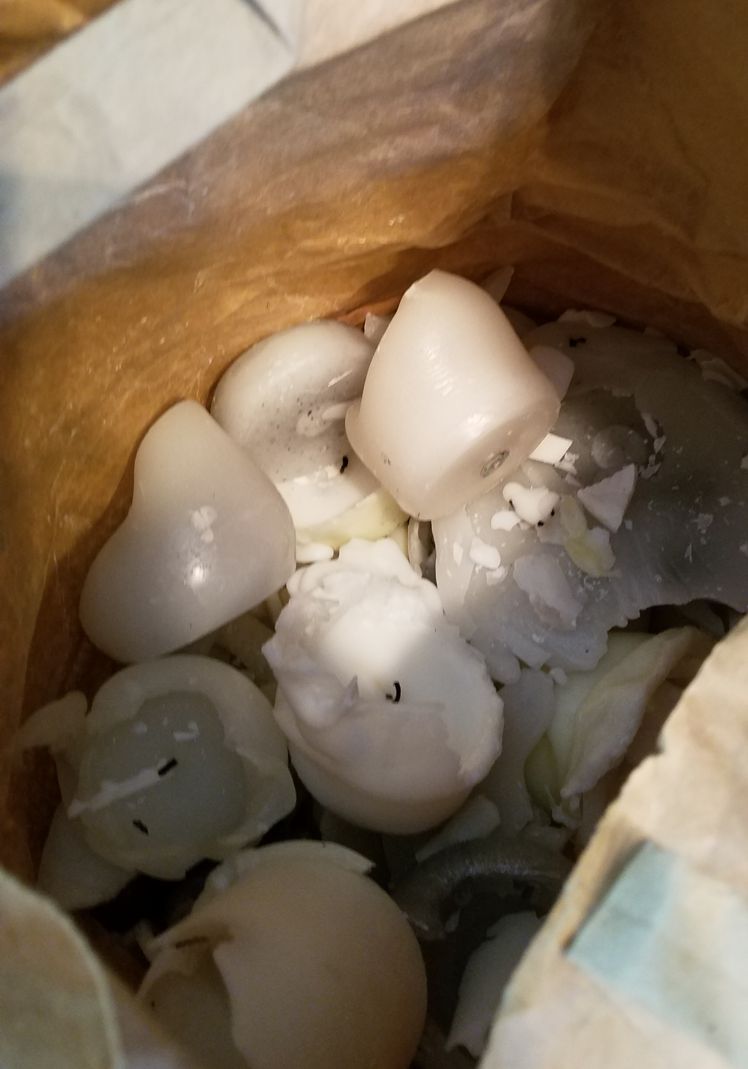
And this is where I got really sick of tossing candle bottoms. I am sad to say I tossed a few before I cried fowl and started collecting them with the intent to reuse them somehow. Searching online I found no shortage of people doing the same. Around the same time I inherited a good deal of my grandmother’s craft stash which included a bag full of wicks. The planets had aligned.
Full confession, this year is not the first year I have tried this; it is the second. But it is the first year I felt like I had some tricks up my sleeve to share with you.
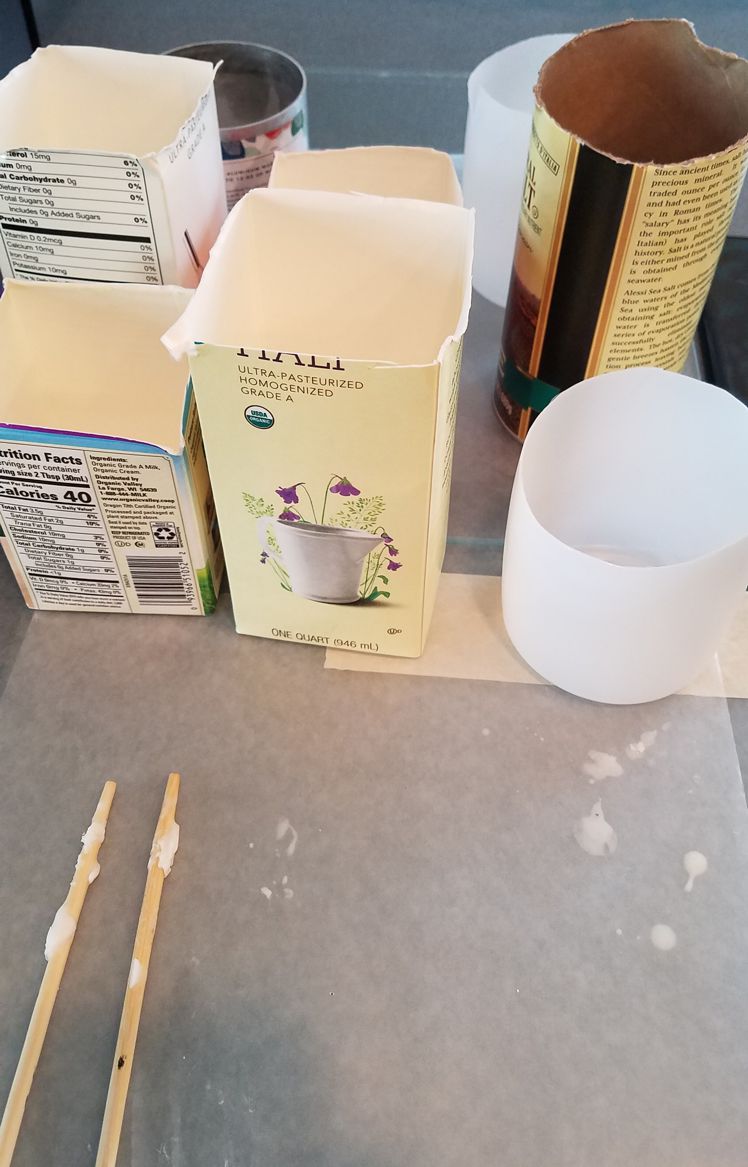
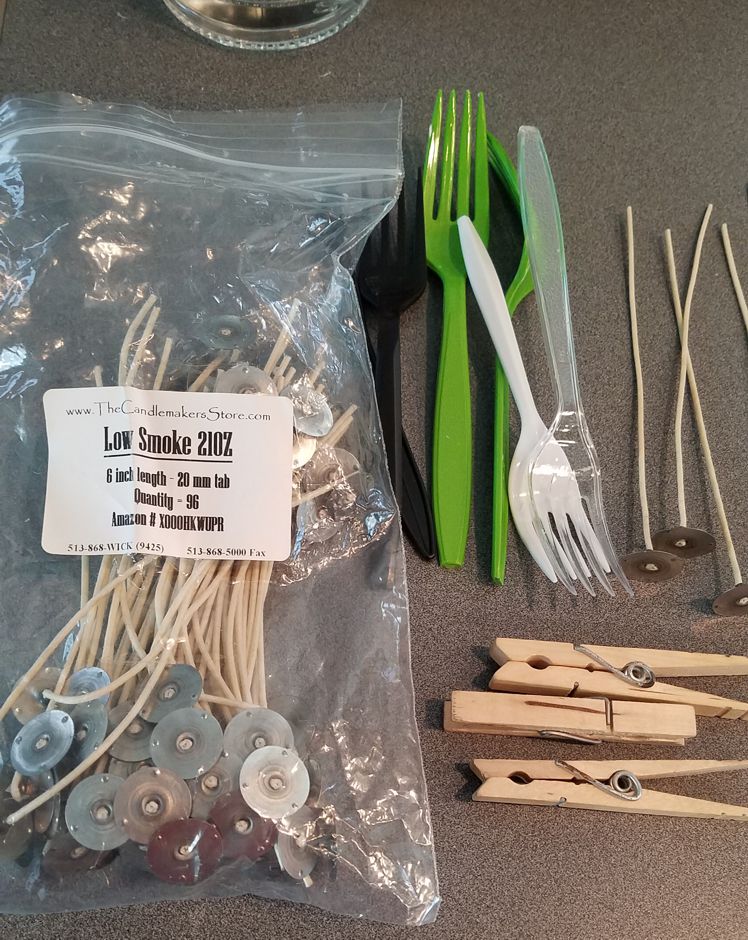
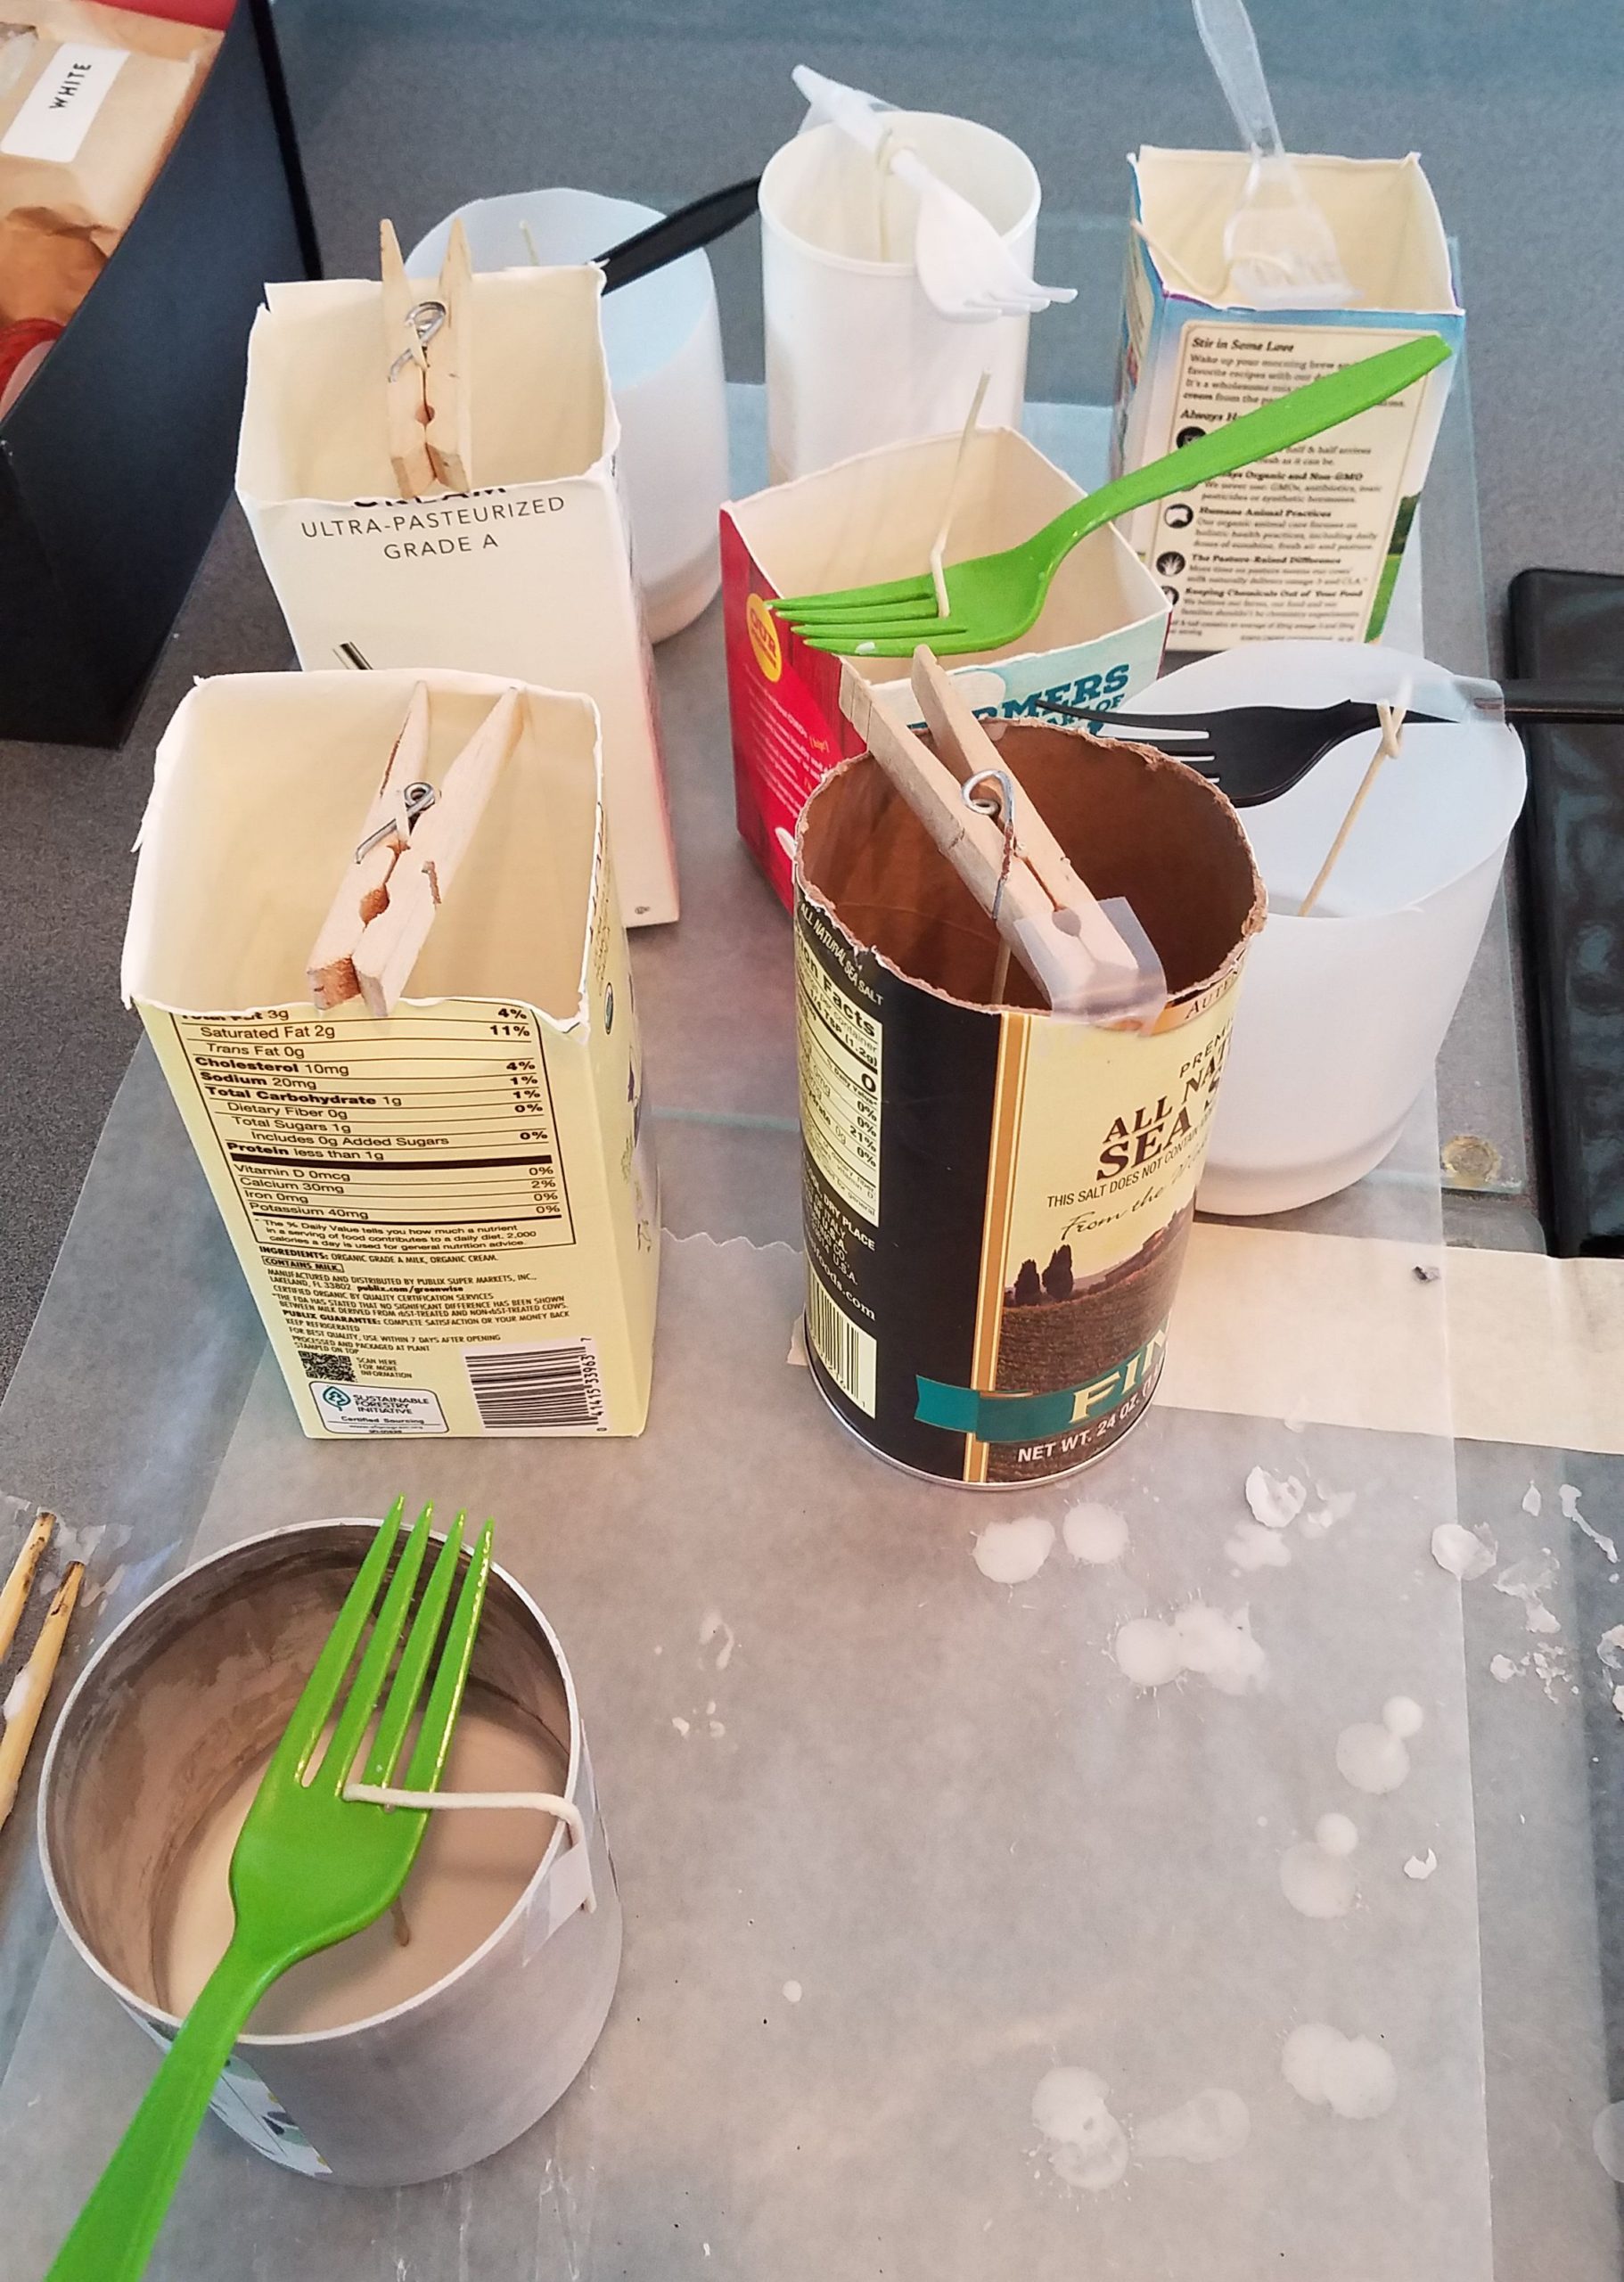
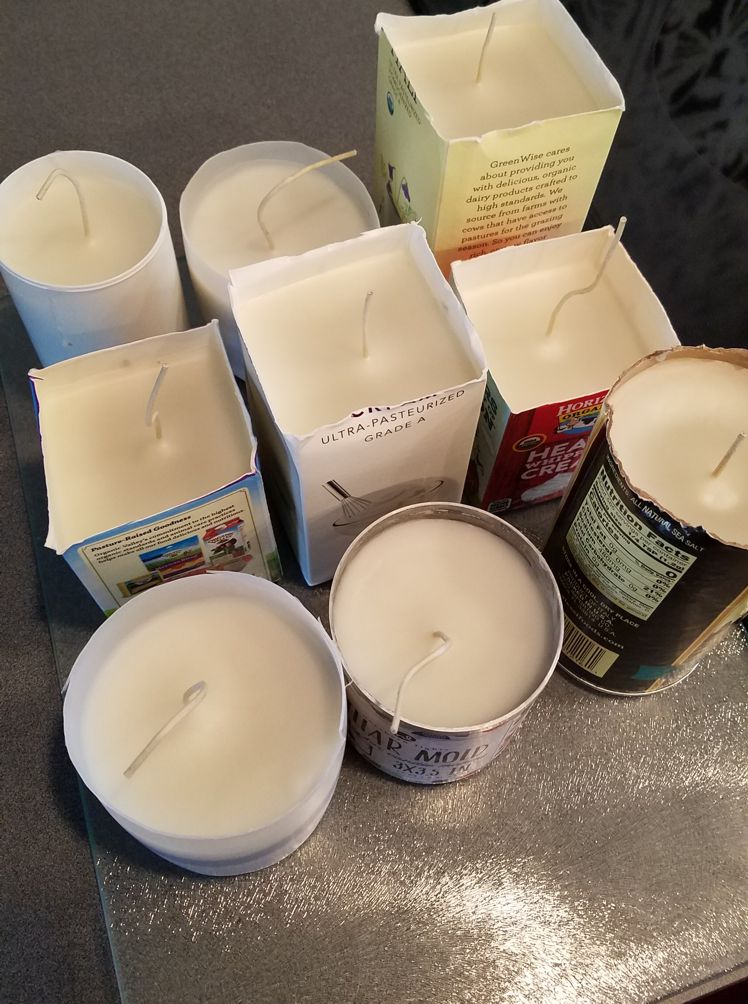
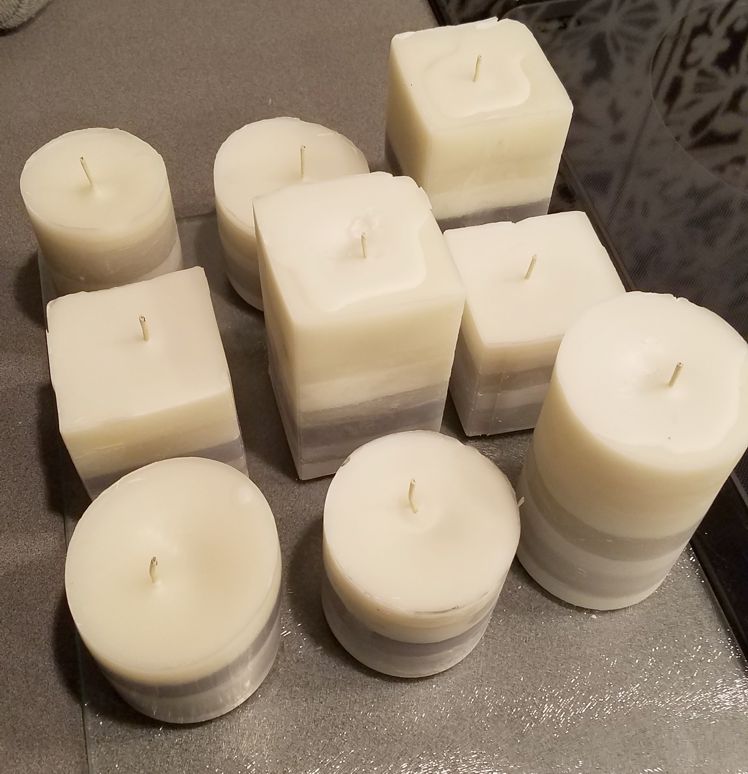
My first trick was, of course, saving more trash in order to help with this process. I only bought one pillar candle mold from the store. I didn’t really want more, and I especially didn’t want to find a place to keep any more. So, I saved up some half ‘n half, heavy cream, and salt containers of both plastic and cardboard variety.
If you’ve looked around the interweb for instructions on candle making, you will already know to use a double boiler method to melt the wax. This will help keep the wax from catching on fire by keeping it a more even and gentle temperature. Other than that, there are also several really thorough instructionals for the perfect candle making in all types of wax. I really just wanted to share what I’ve learned about the salvage process.
TIP #1: Keep Similar Wax Together
I’m just talking about obvious wax types. Each wax has a best type of use based on its overall characteristics. If you are a buyer of candles then you probably have had experience with all three types: paraffin, soy, and beeswax. Pillar candles are made mostly from paraffin. Soy candles are commonly in containers like glass or ceramic. When salvaging candles, simply keep the pillar type with the pillar type and the container type with the container type and you will have a better end product. Also remember that differences in your store bought pillars might end up making your salvaged candles burn a little wonky, but they will work just the same.

TIP #2: Fish Out the Wicks and Bits
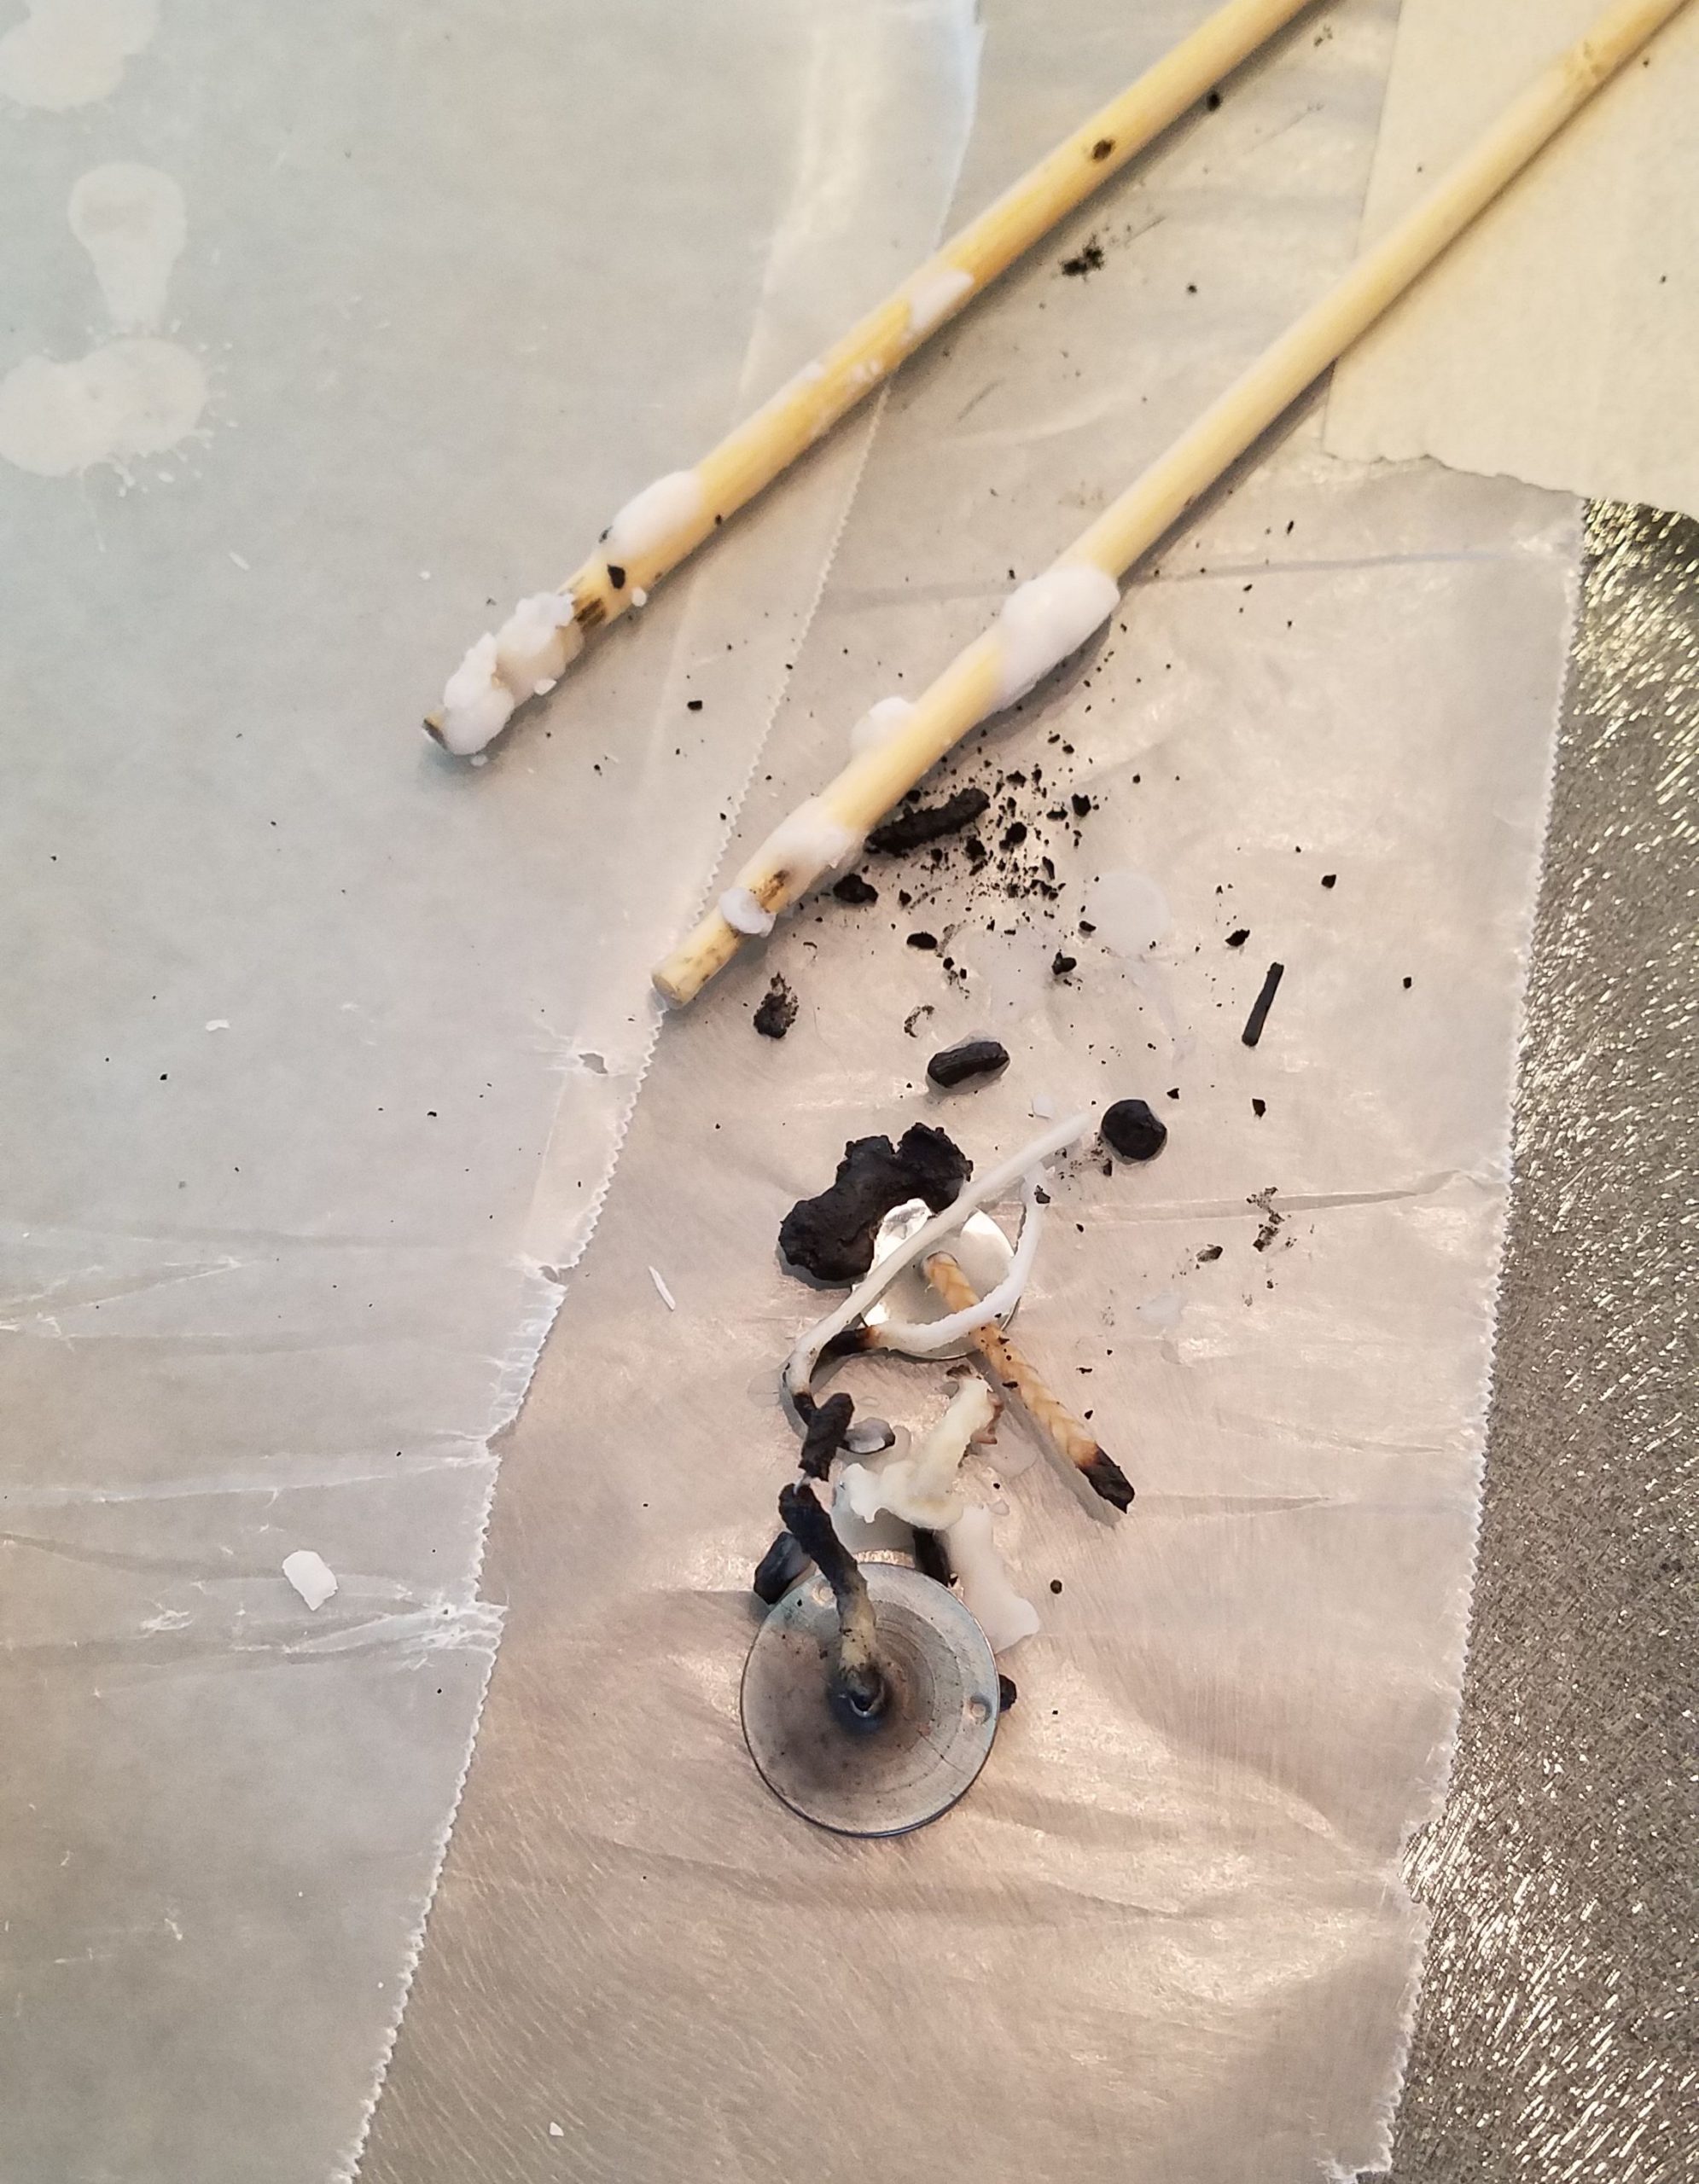
Remove what you can from the candle bottom before starting; like the stickers that are commonly on the end, but to get the old wick out you will have to melt the candle bottom first. I just chuck a few in the pot and wait until the the wax is melted. Then I go in with a pair of disposable chop sticks and pick out the wicks and any other charred debris.
TIP #3: Pour in Layers & Take it Slow
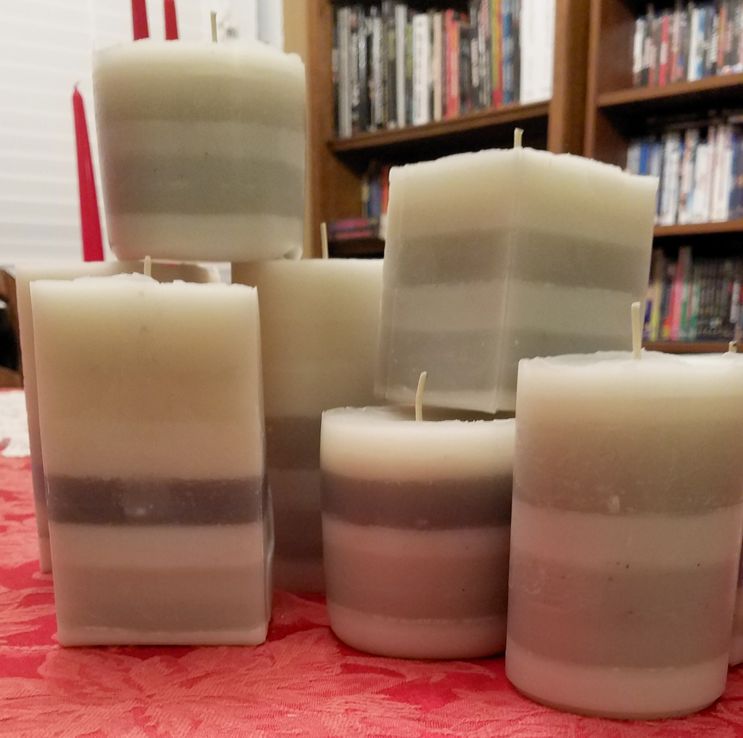
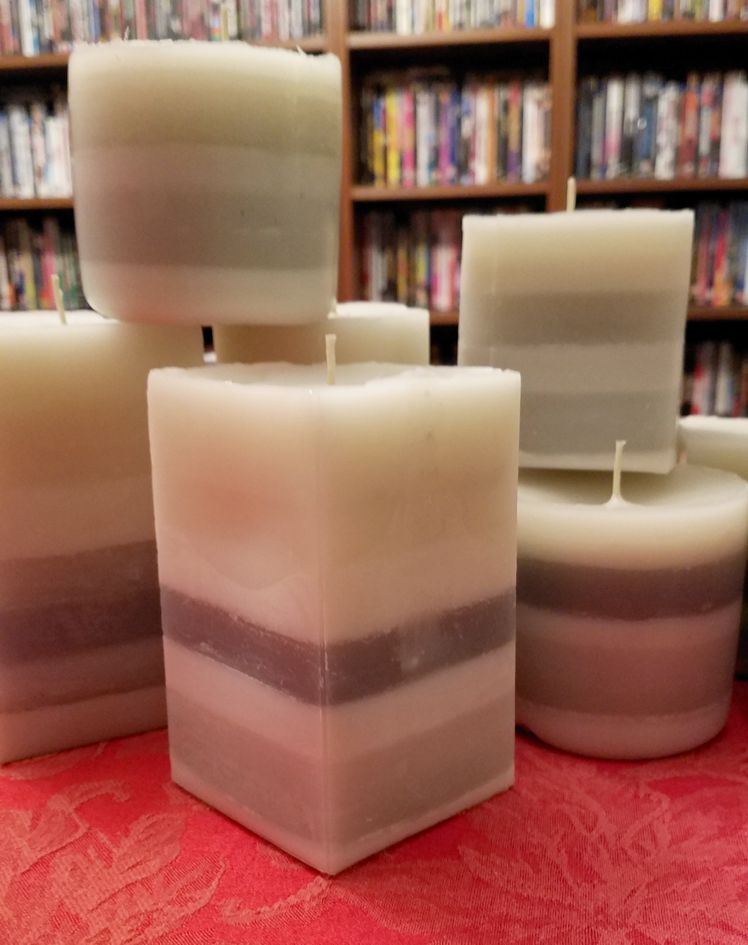
My layered candle look was more for practicality than aesthetics, but it worked out both ways. The first time I tried candle salvaging I melted and then filled two molds in one pour. As the candles set I got some crazy sink holes that I had to fill in later. Sinkholes will happen because of a combination of factors, the most important of which is the room temperature. I typically make my candle salvage near the beginning of the year, so my kitchen is cooler.
My solution was to work slowly over the course of a day, pouring a large batch of candles in increments. The layering worked perfectly, except on the two tallest candles where I did get a sink hole. I forgot to take a picture of this for you, but it was easy to fix. I just melted a little more wax once all the candles had set and poured it in the holes.
